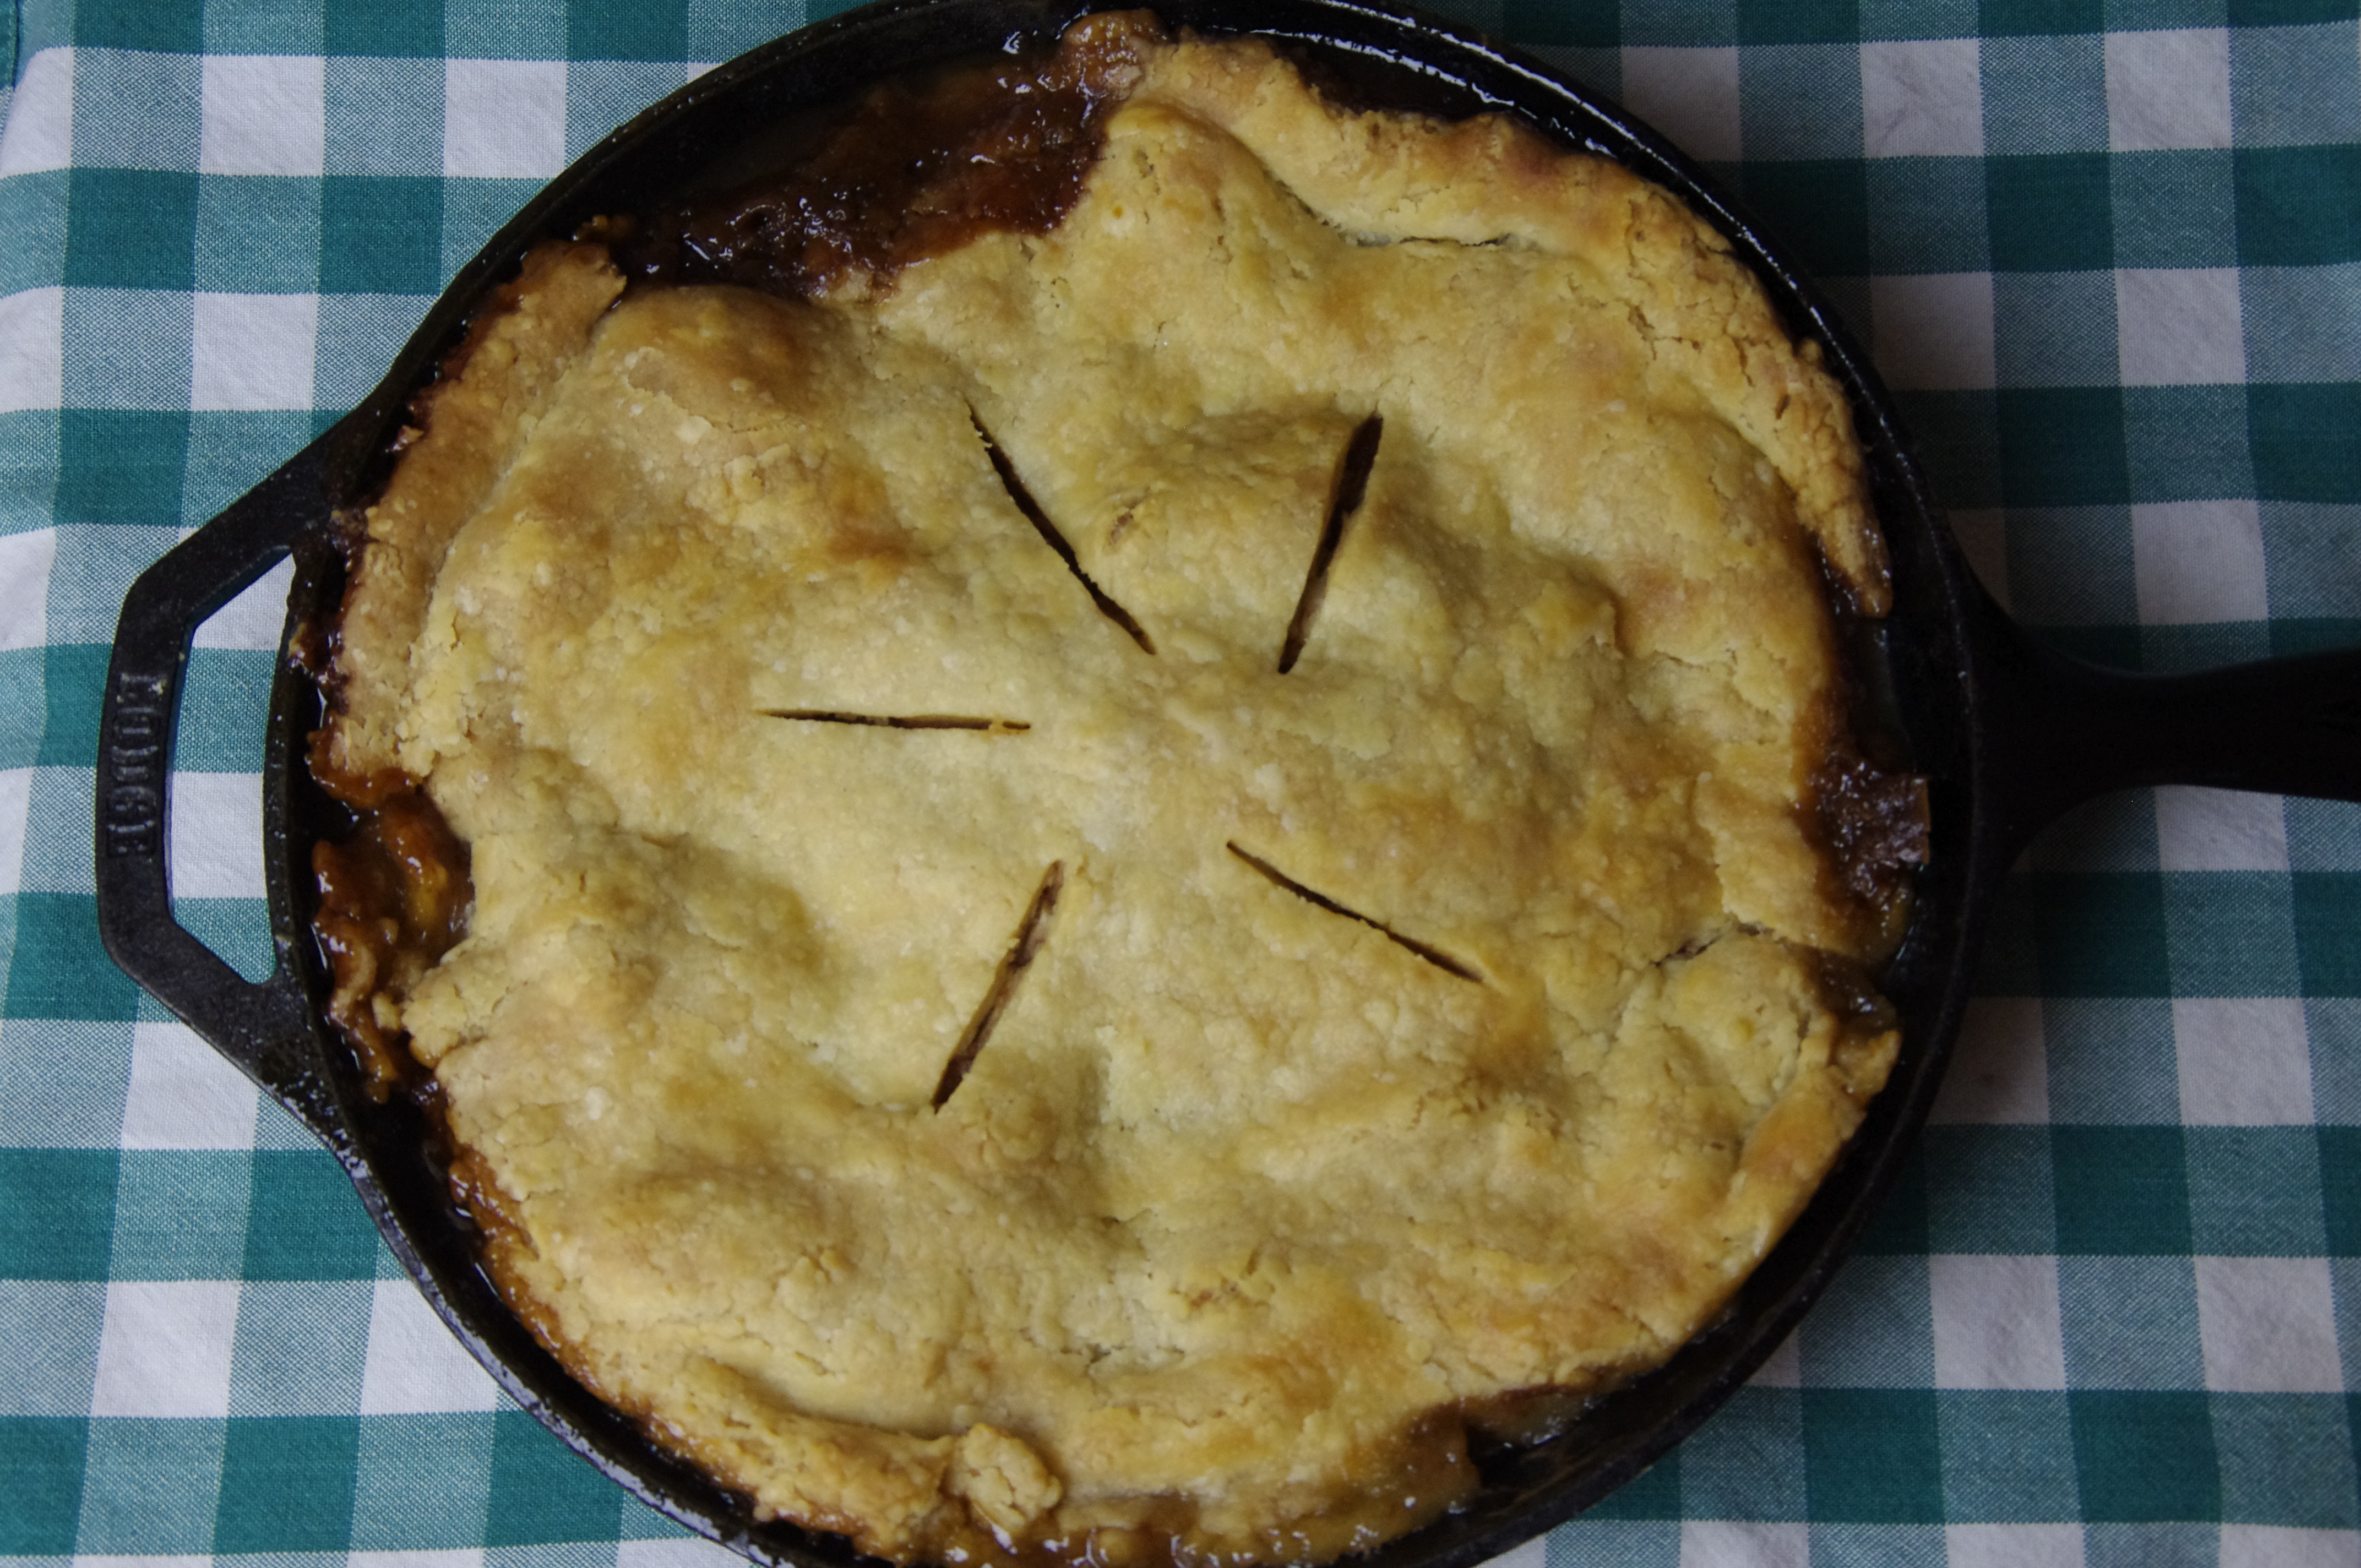
I finished this week with my last meal from the Cook to Books Challenge from Around My French Table by Dorie Greenspan. 
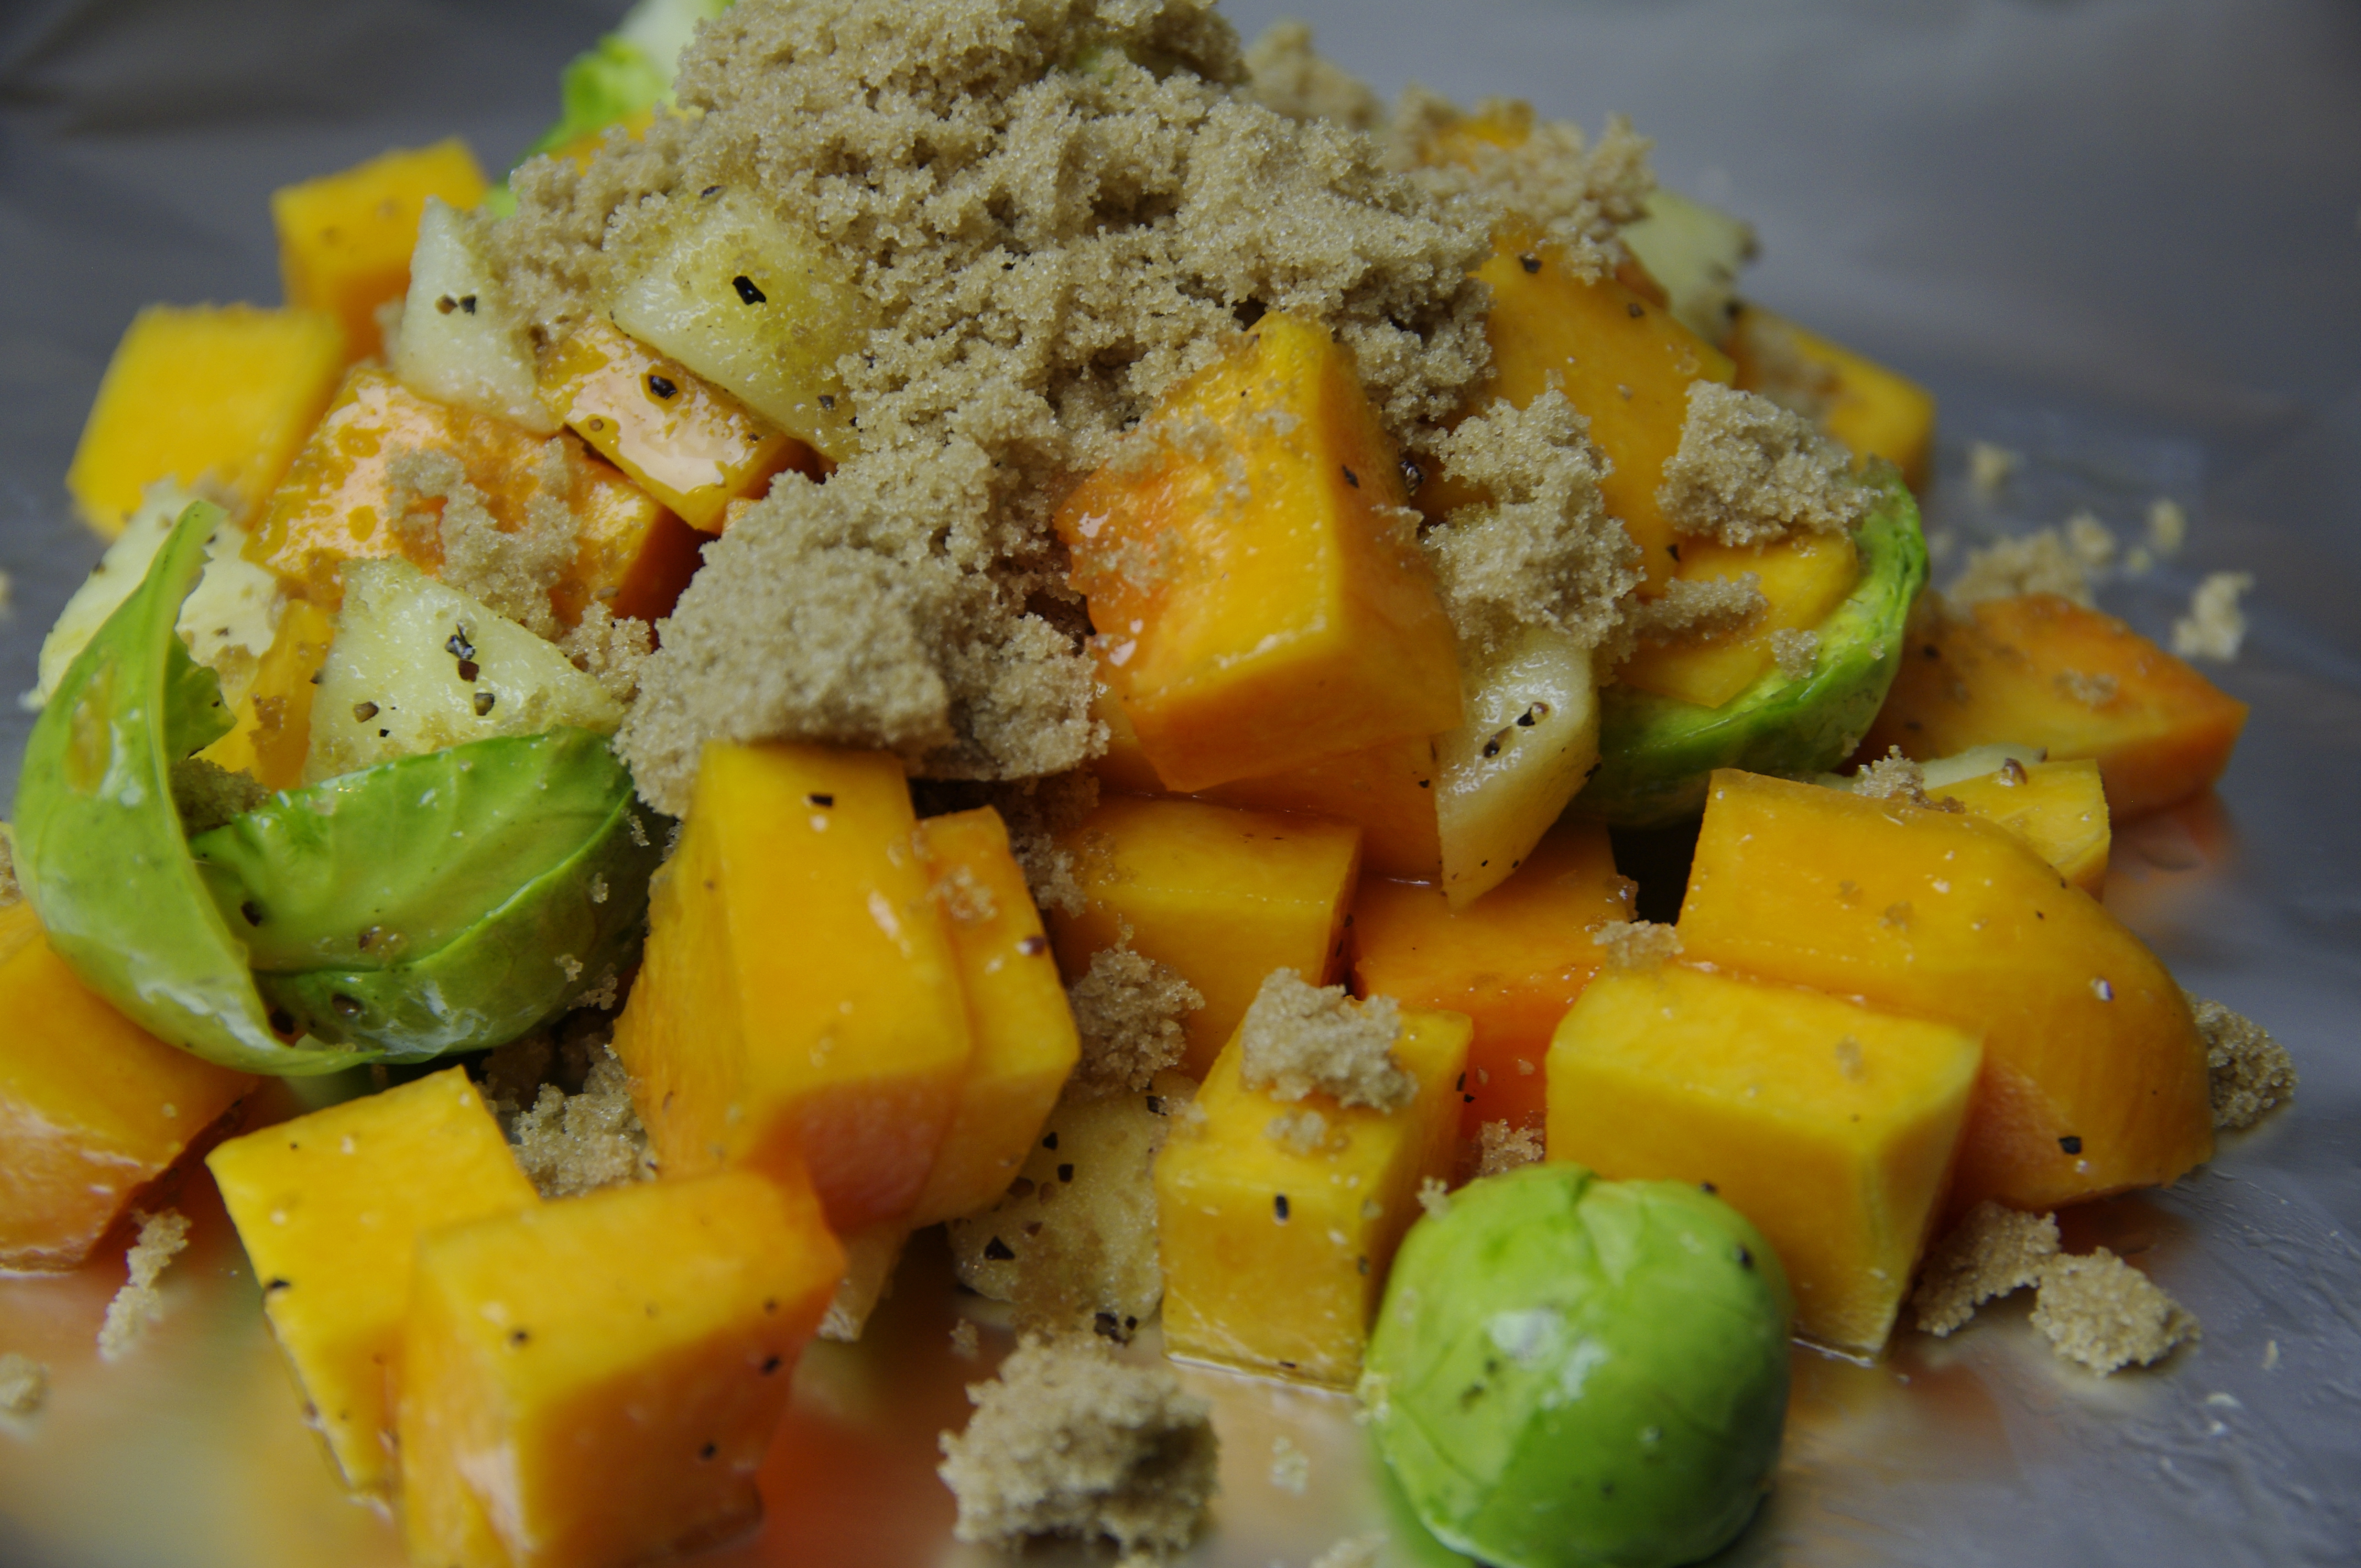
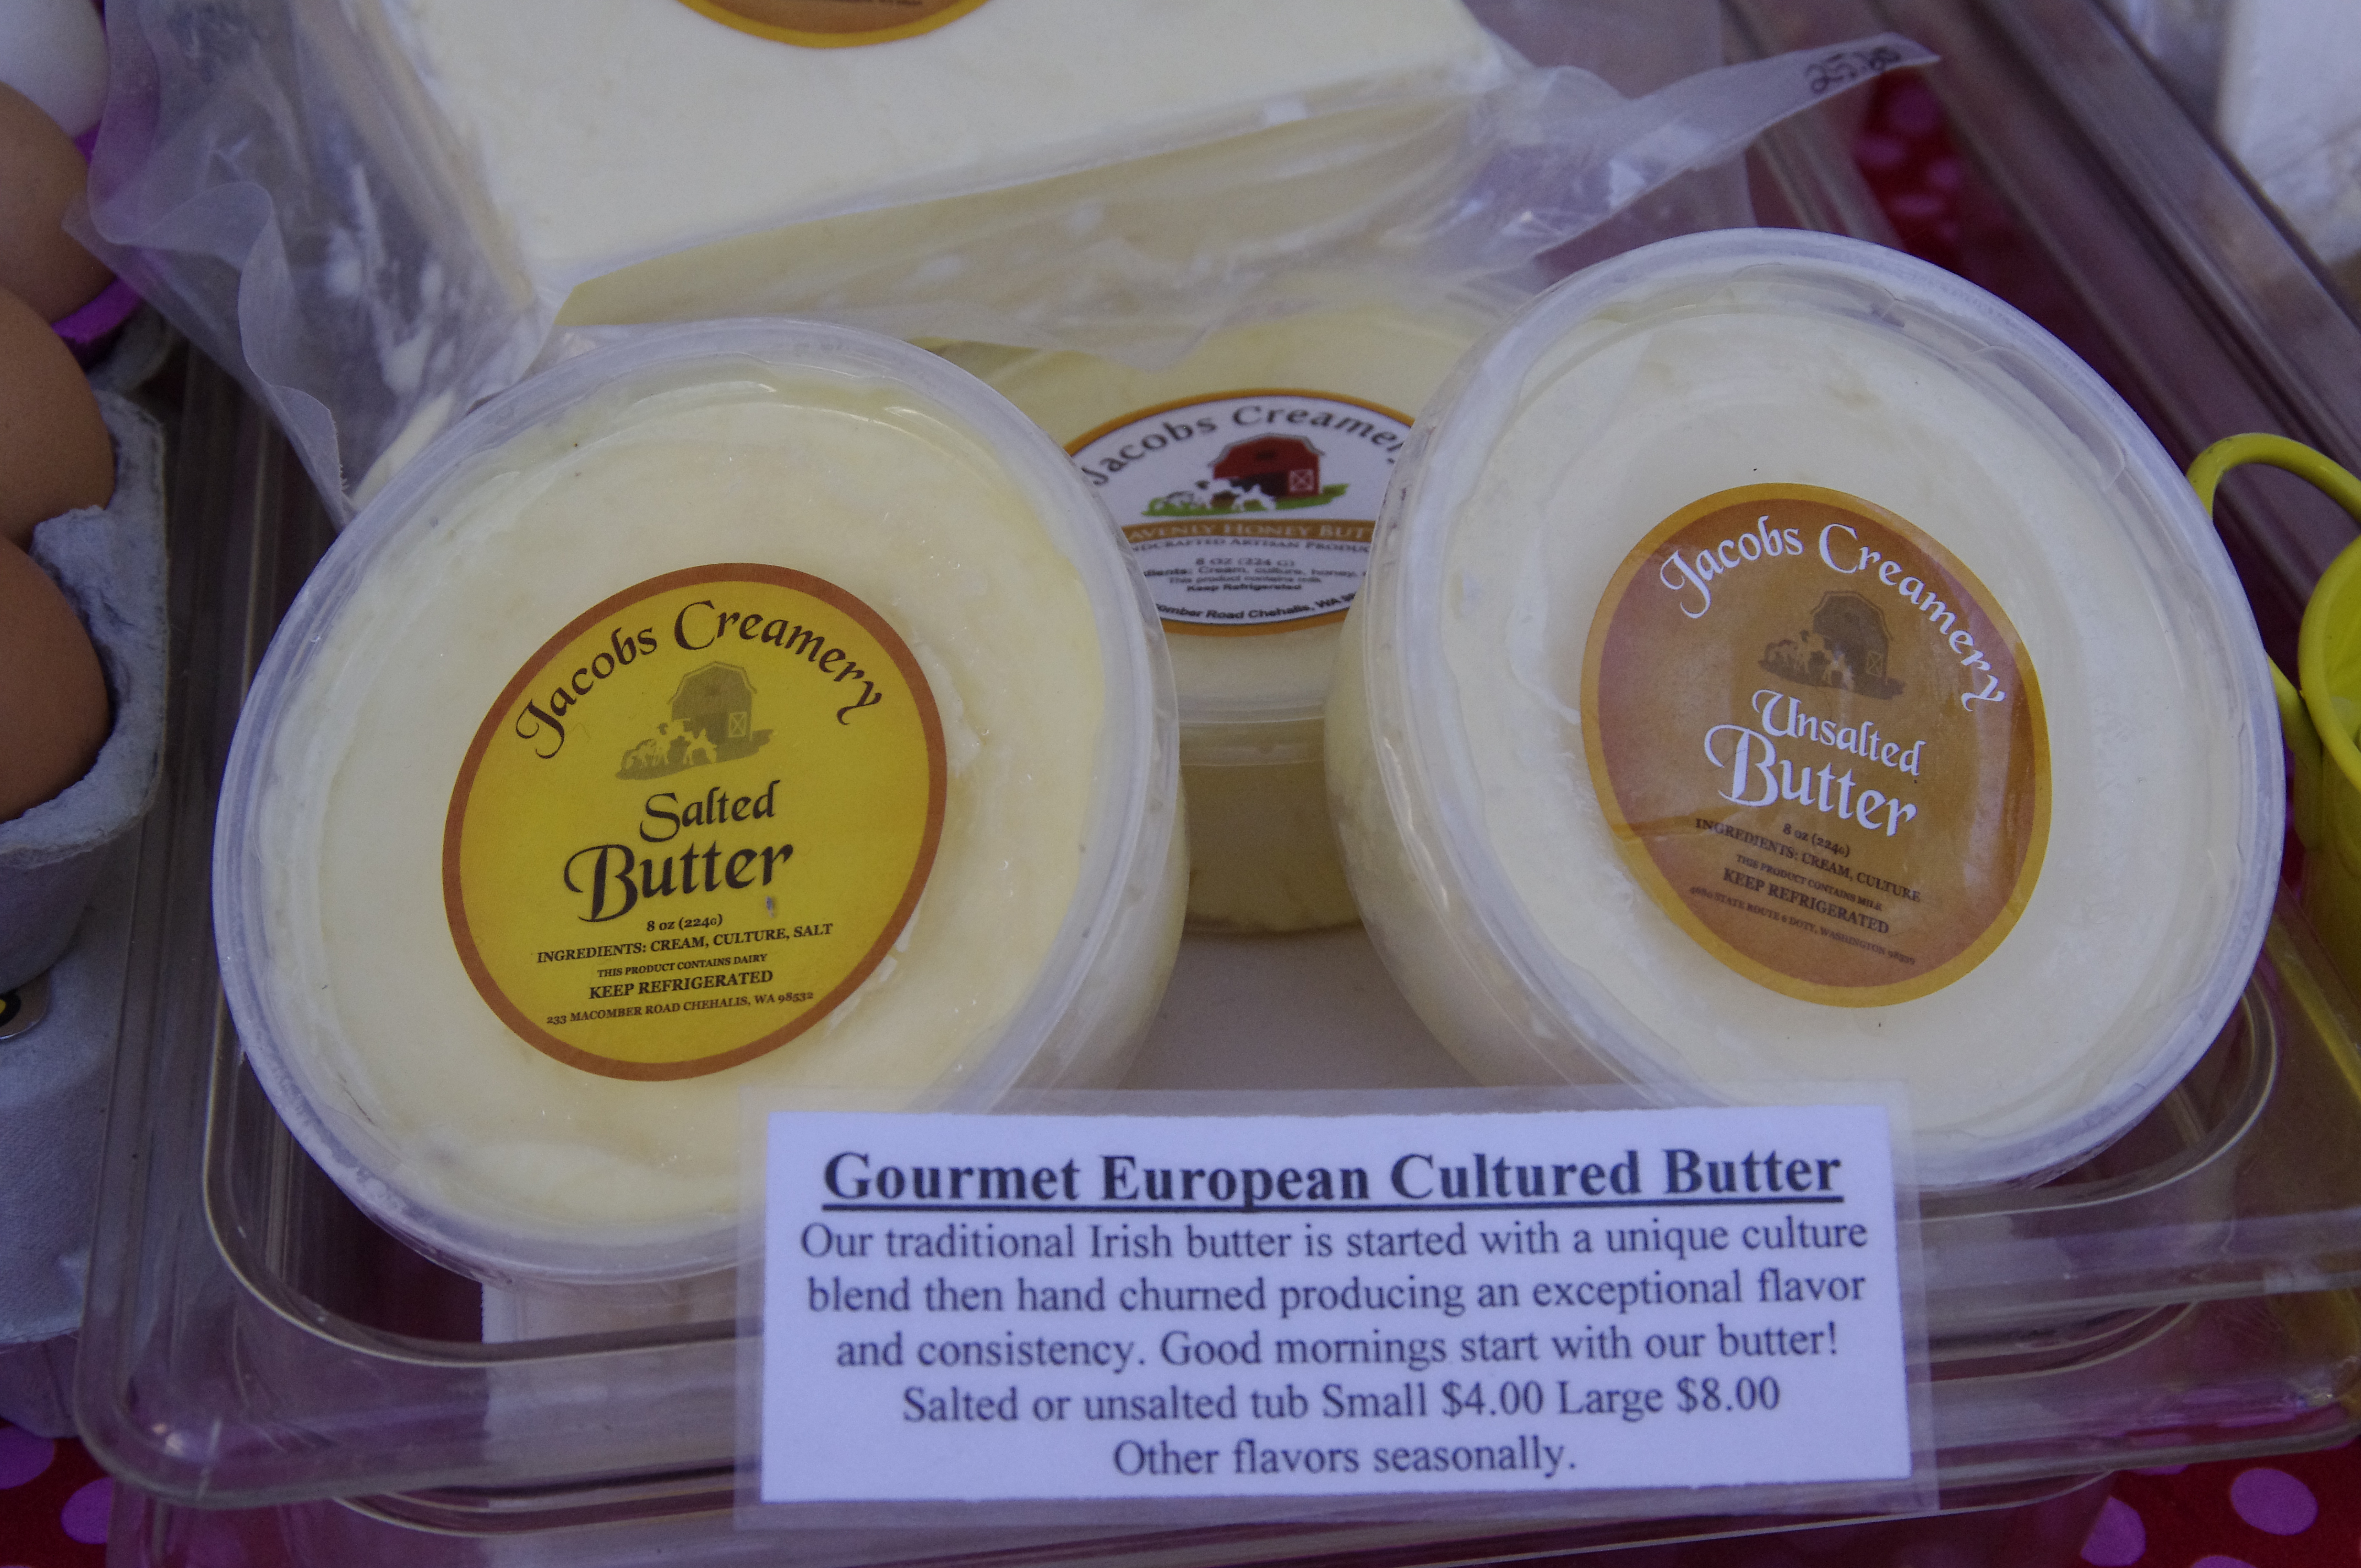
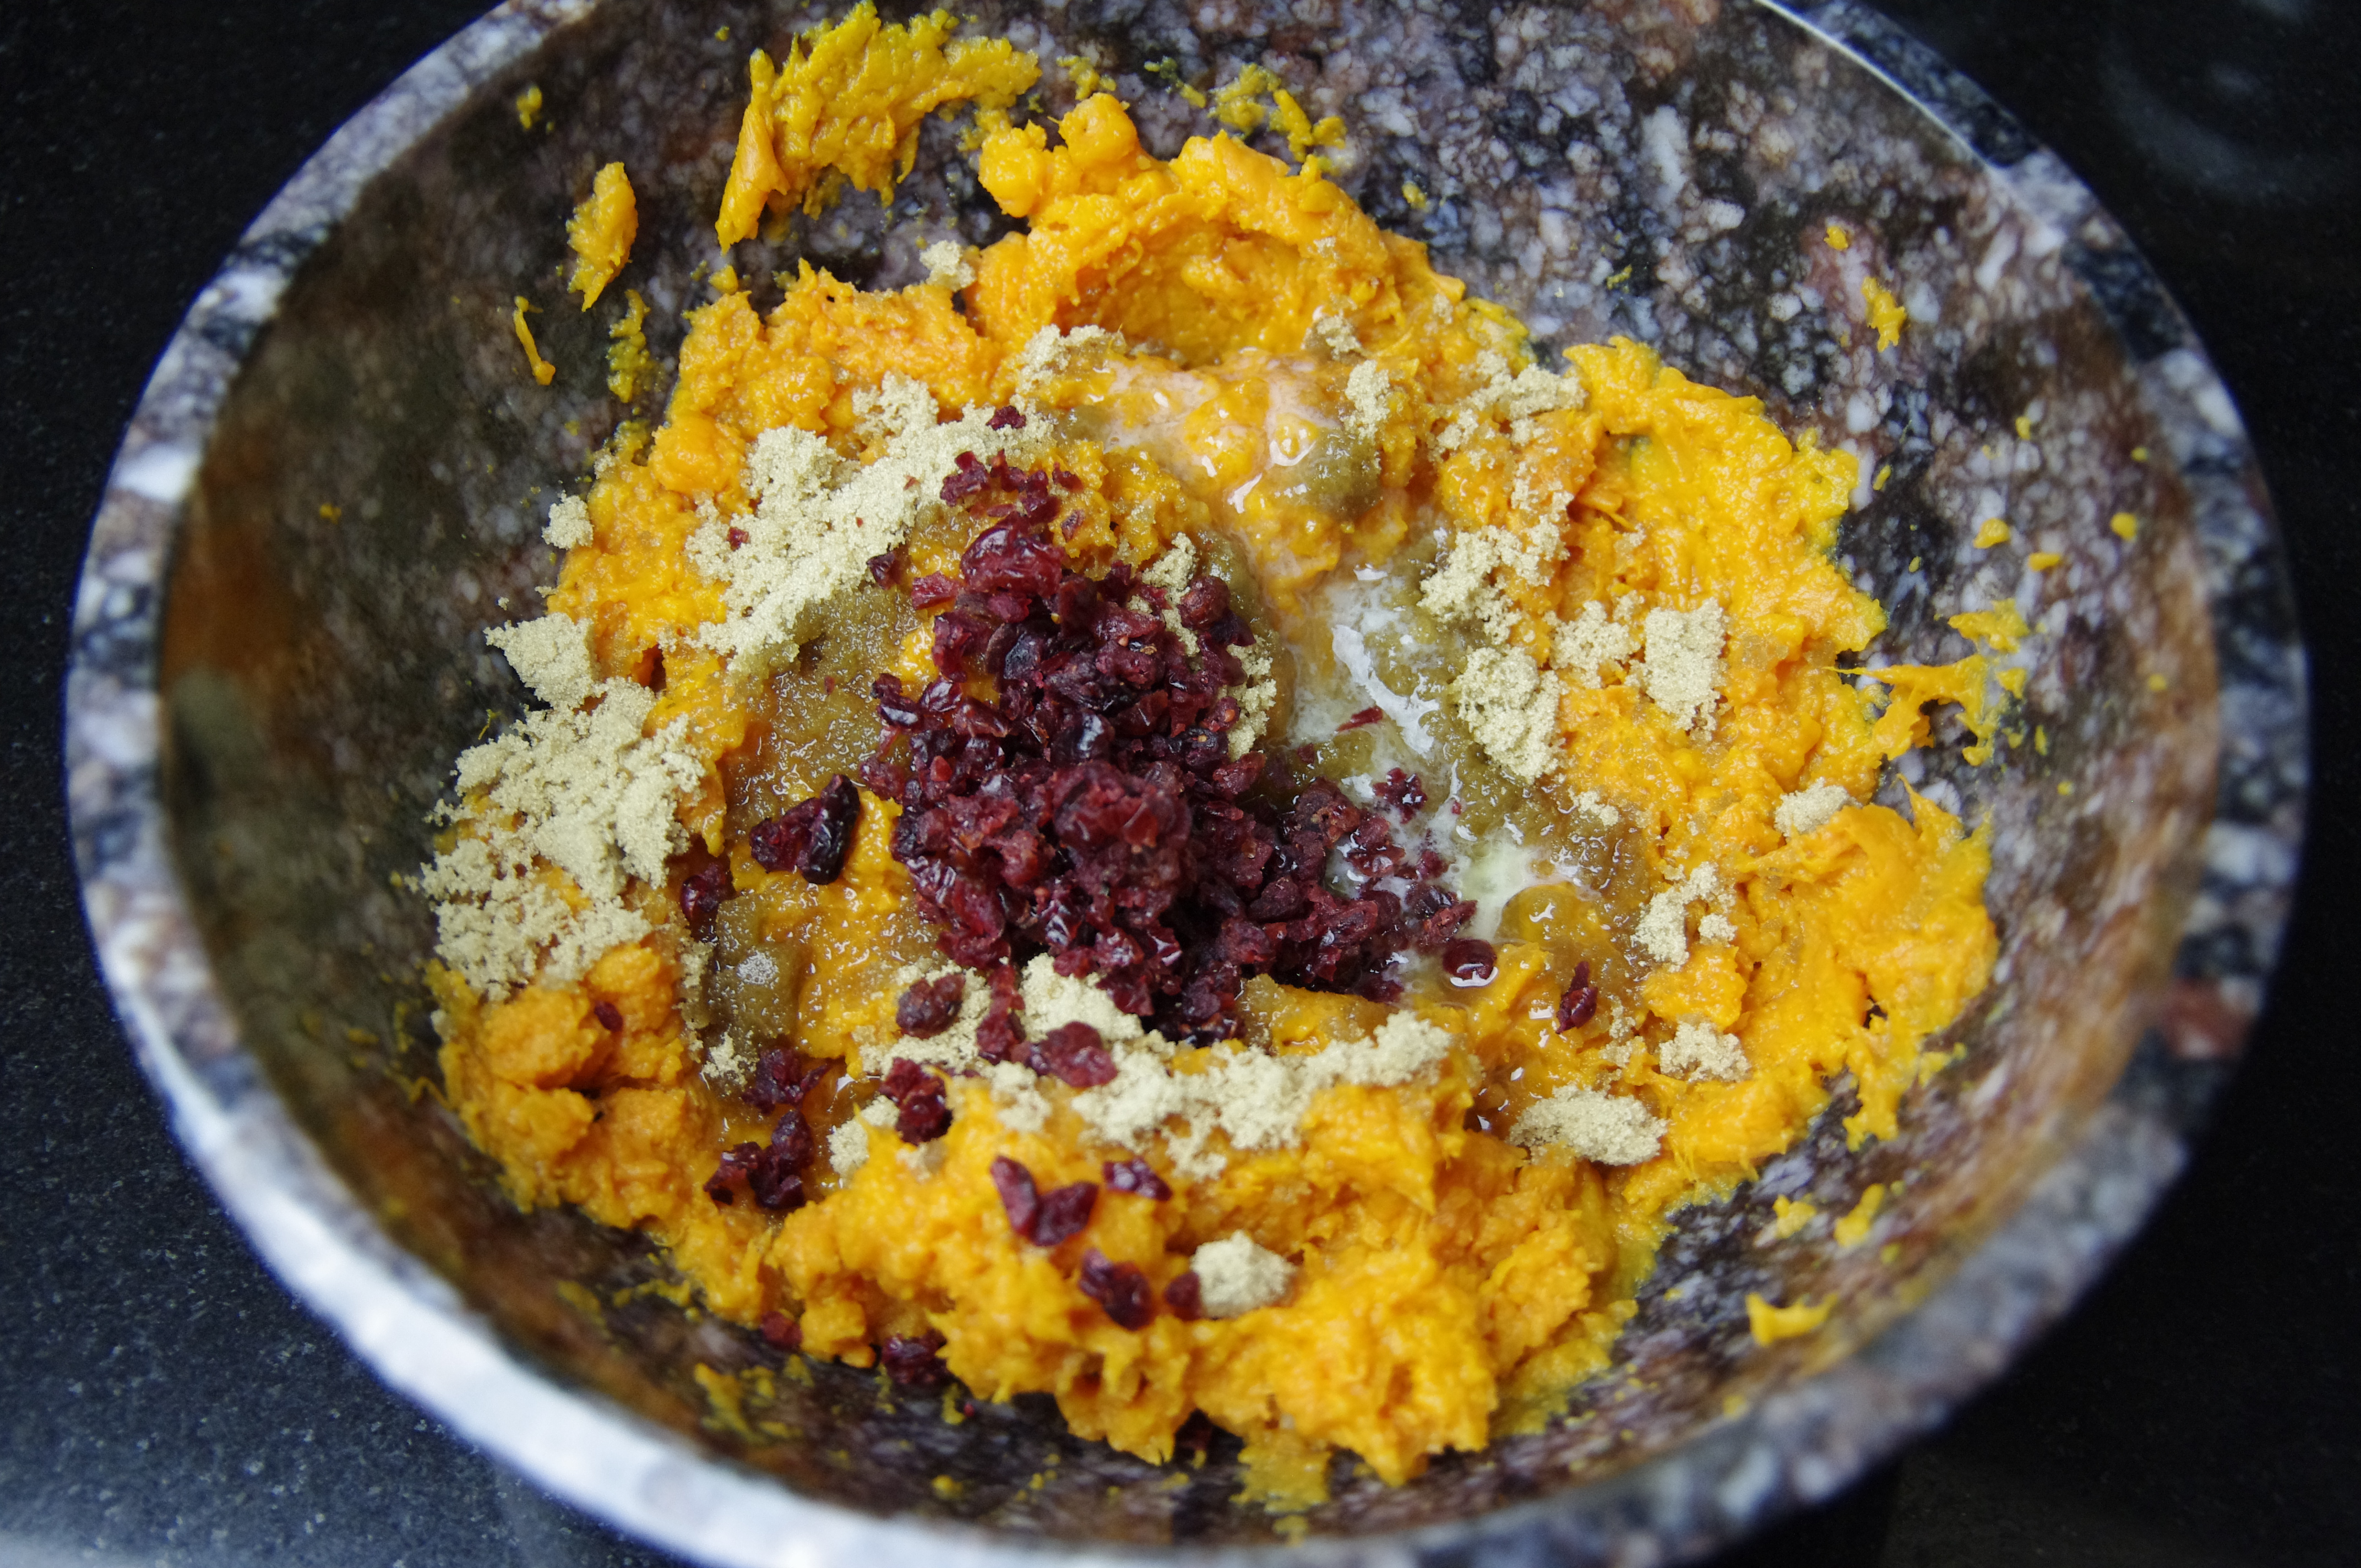
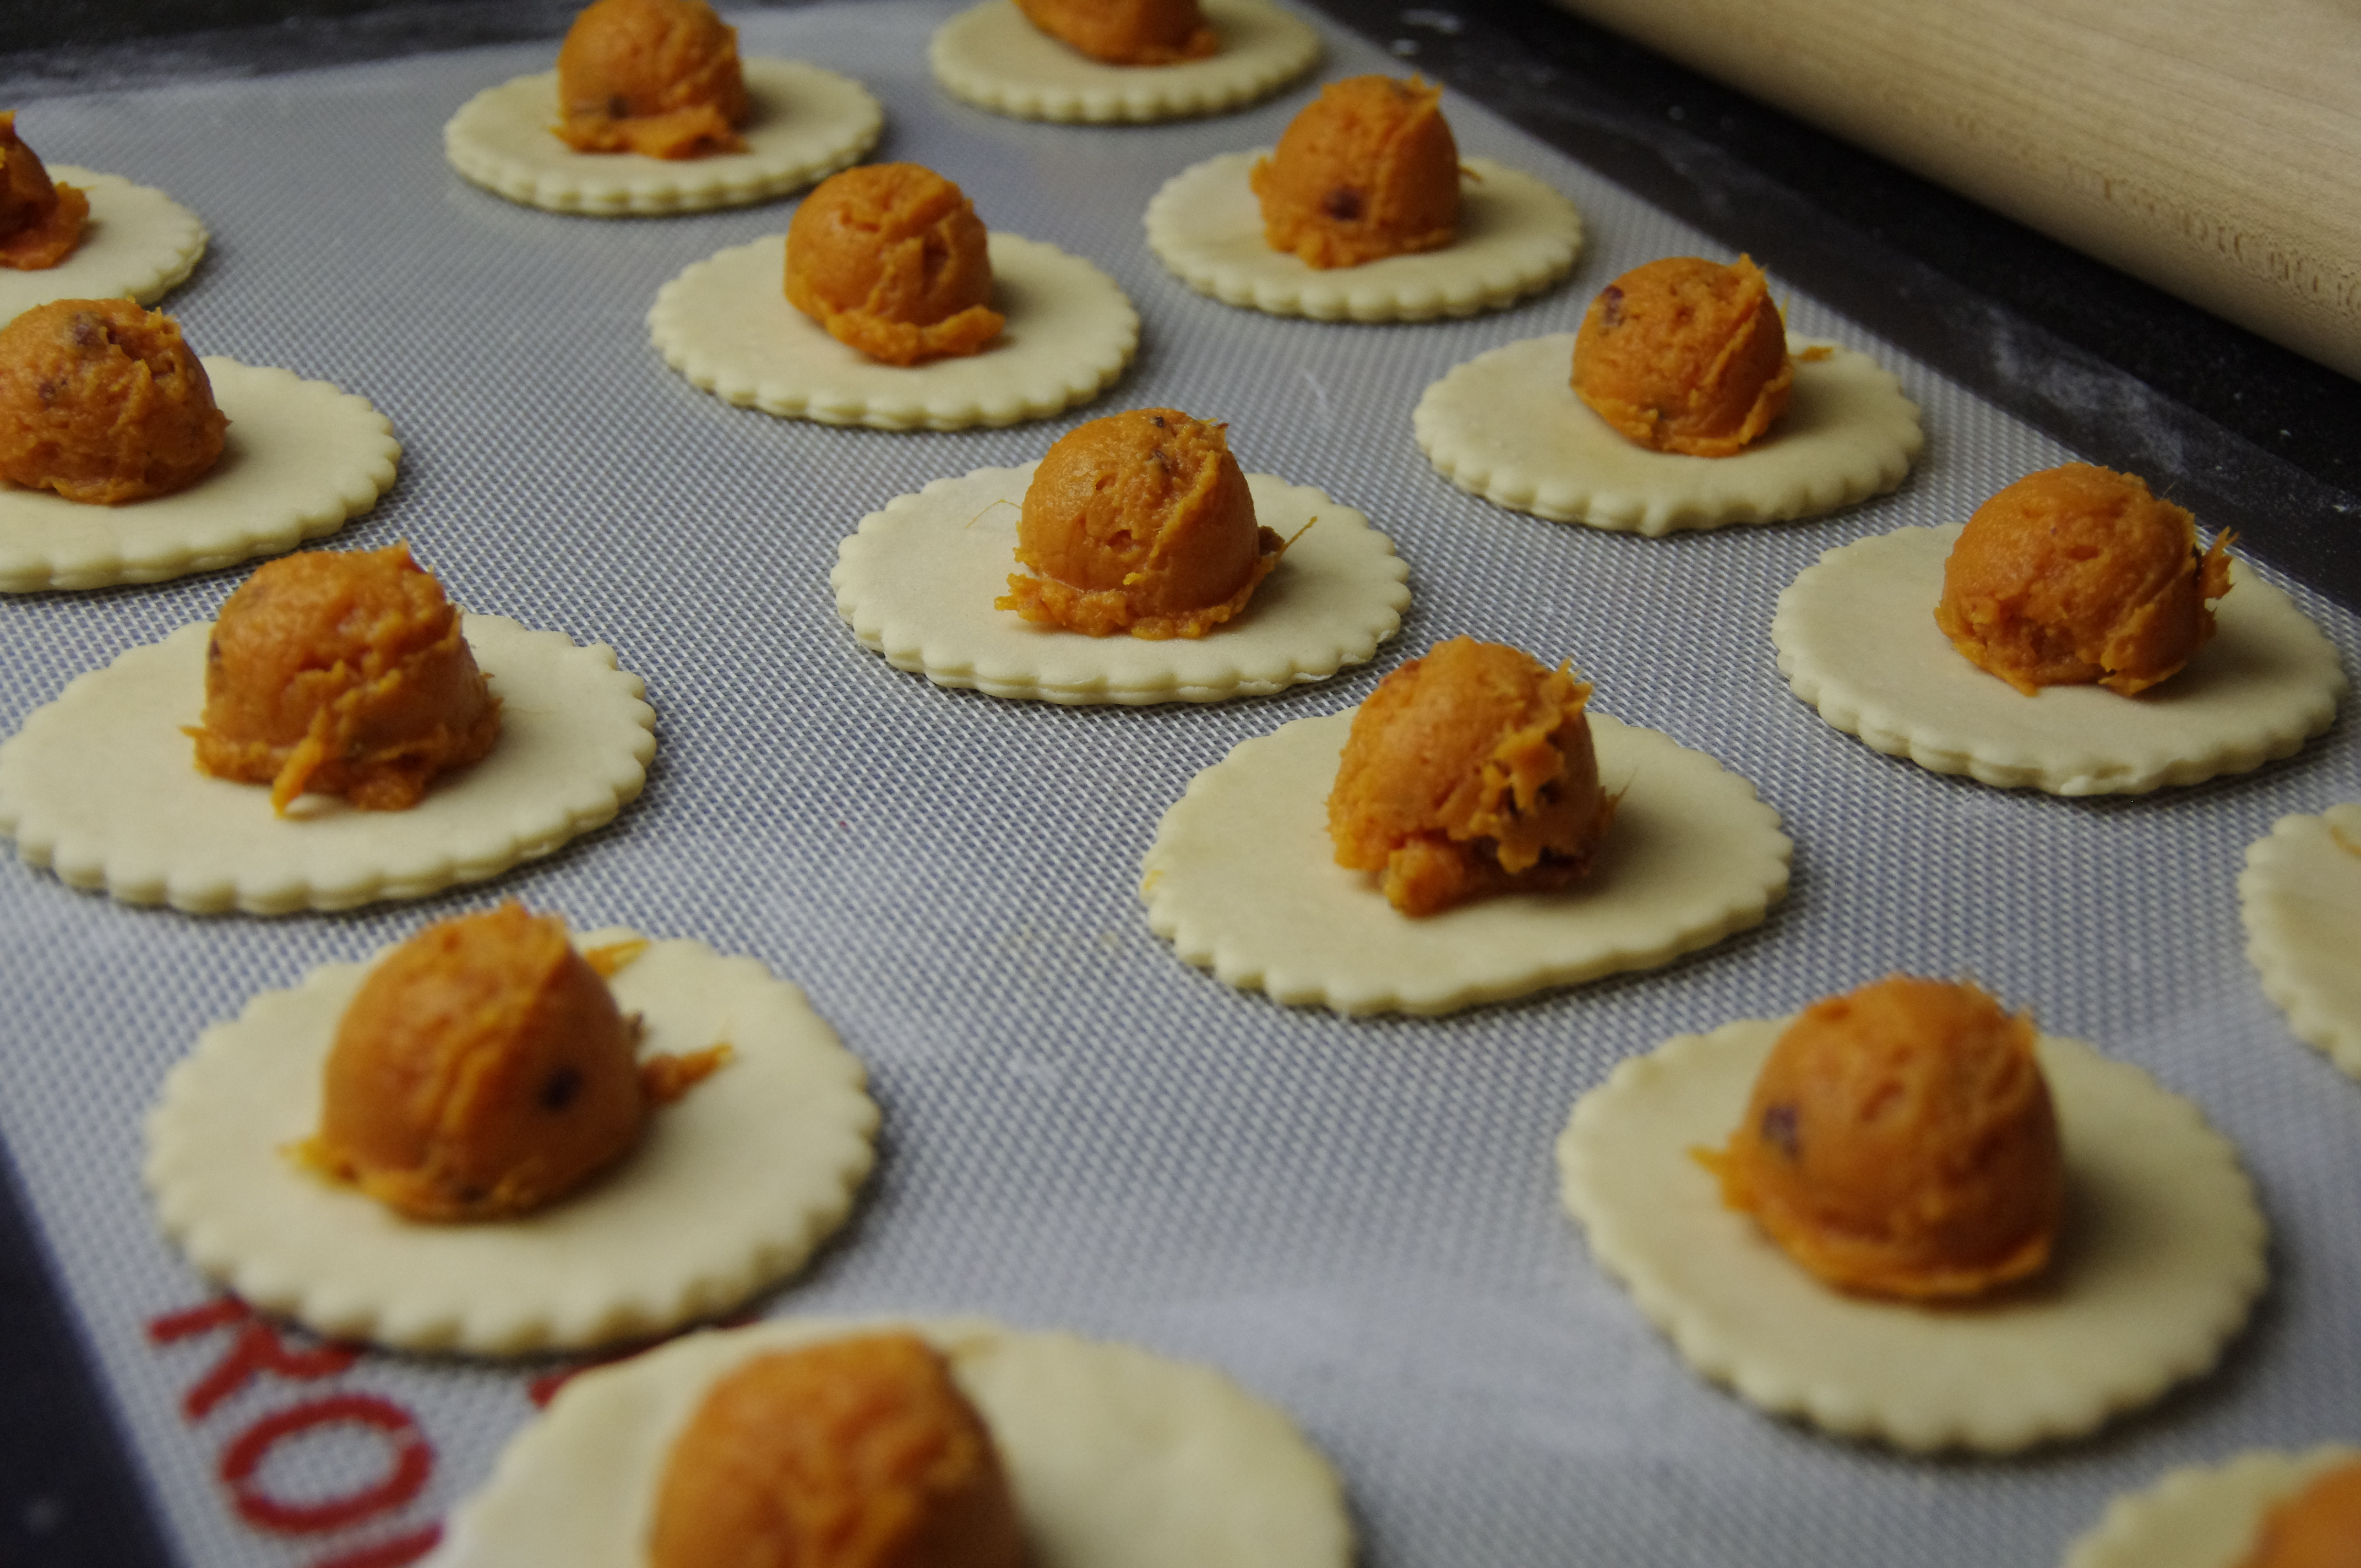
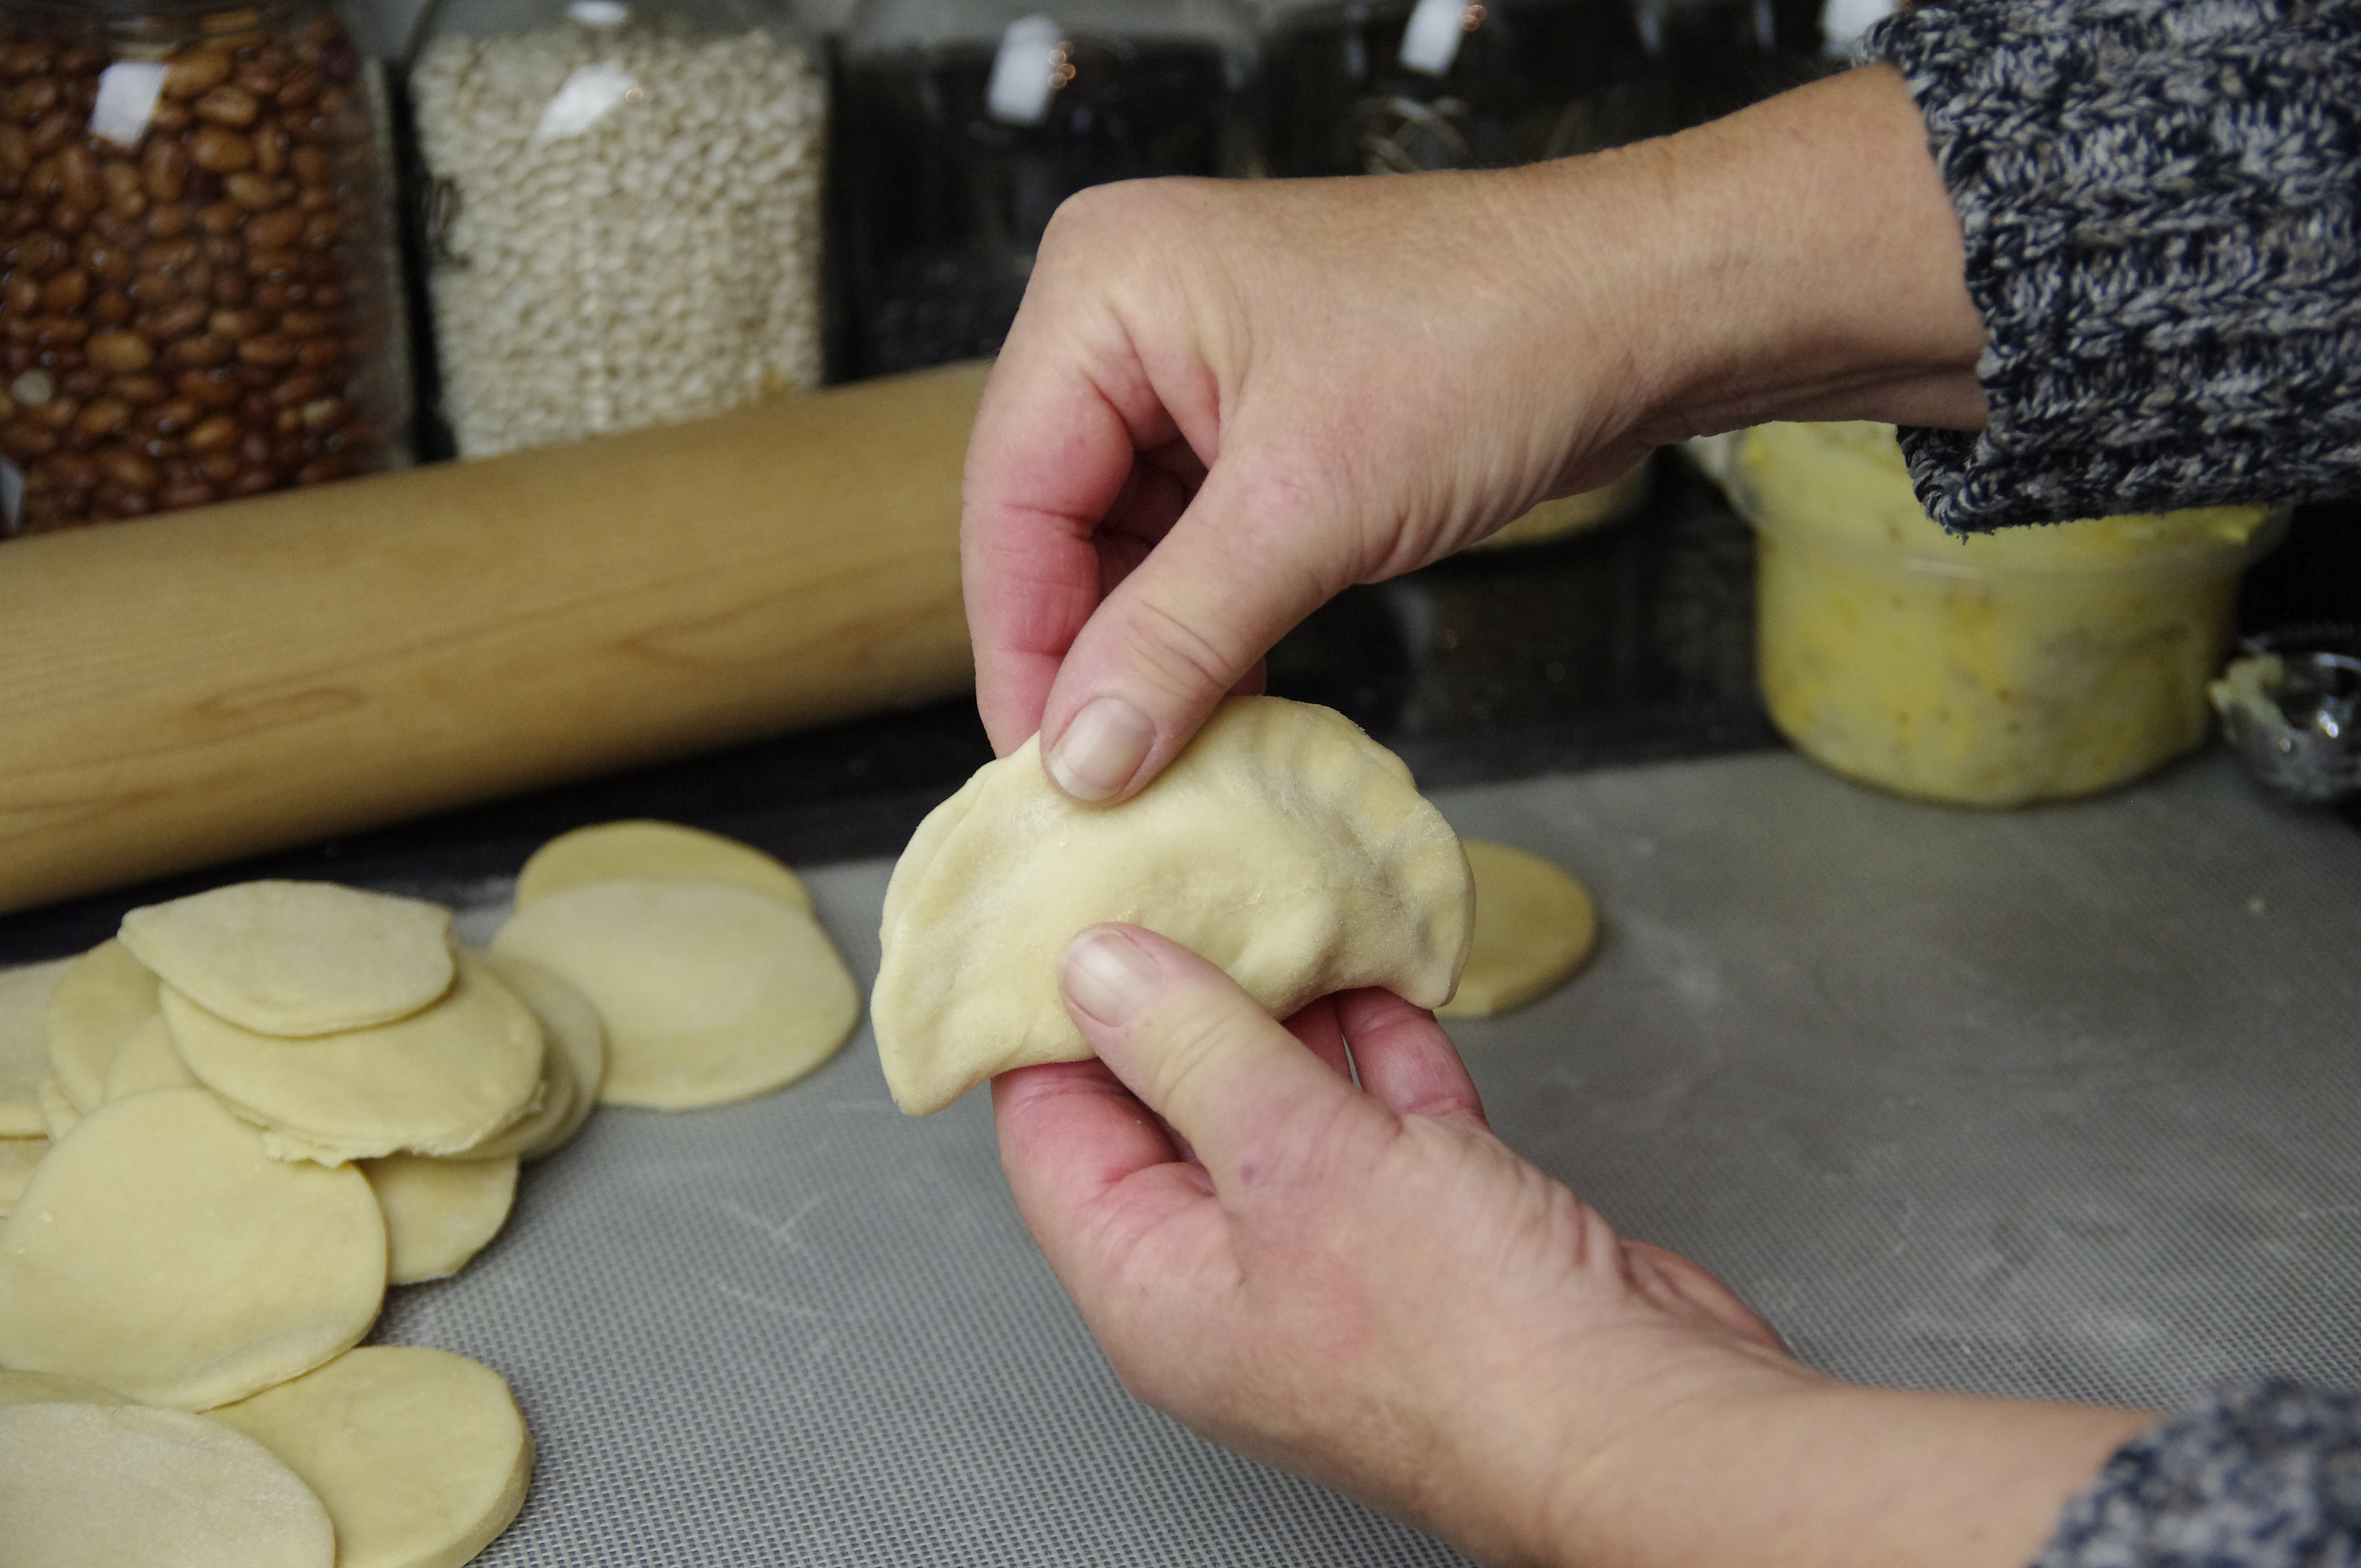
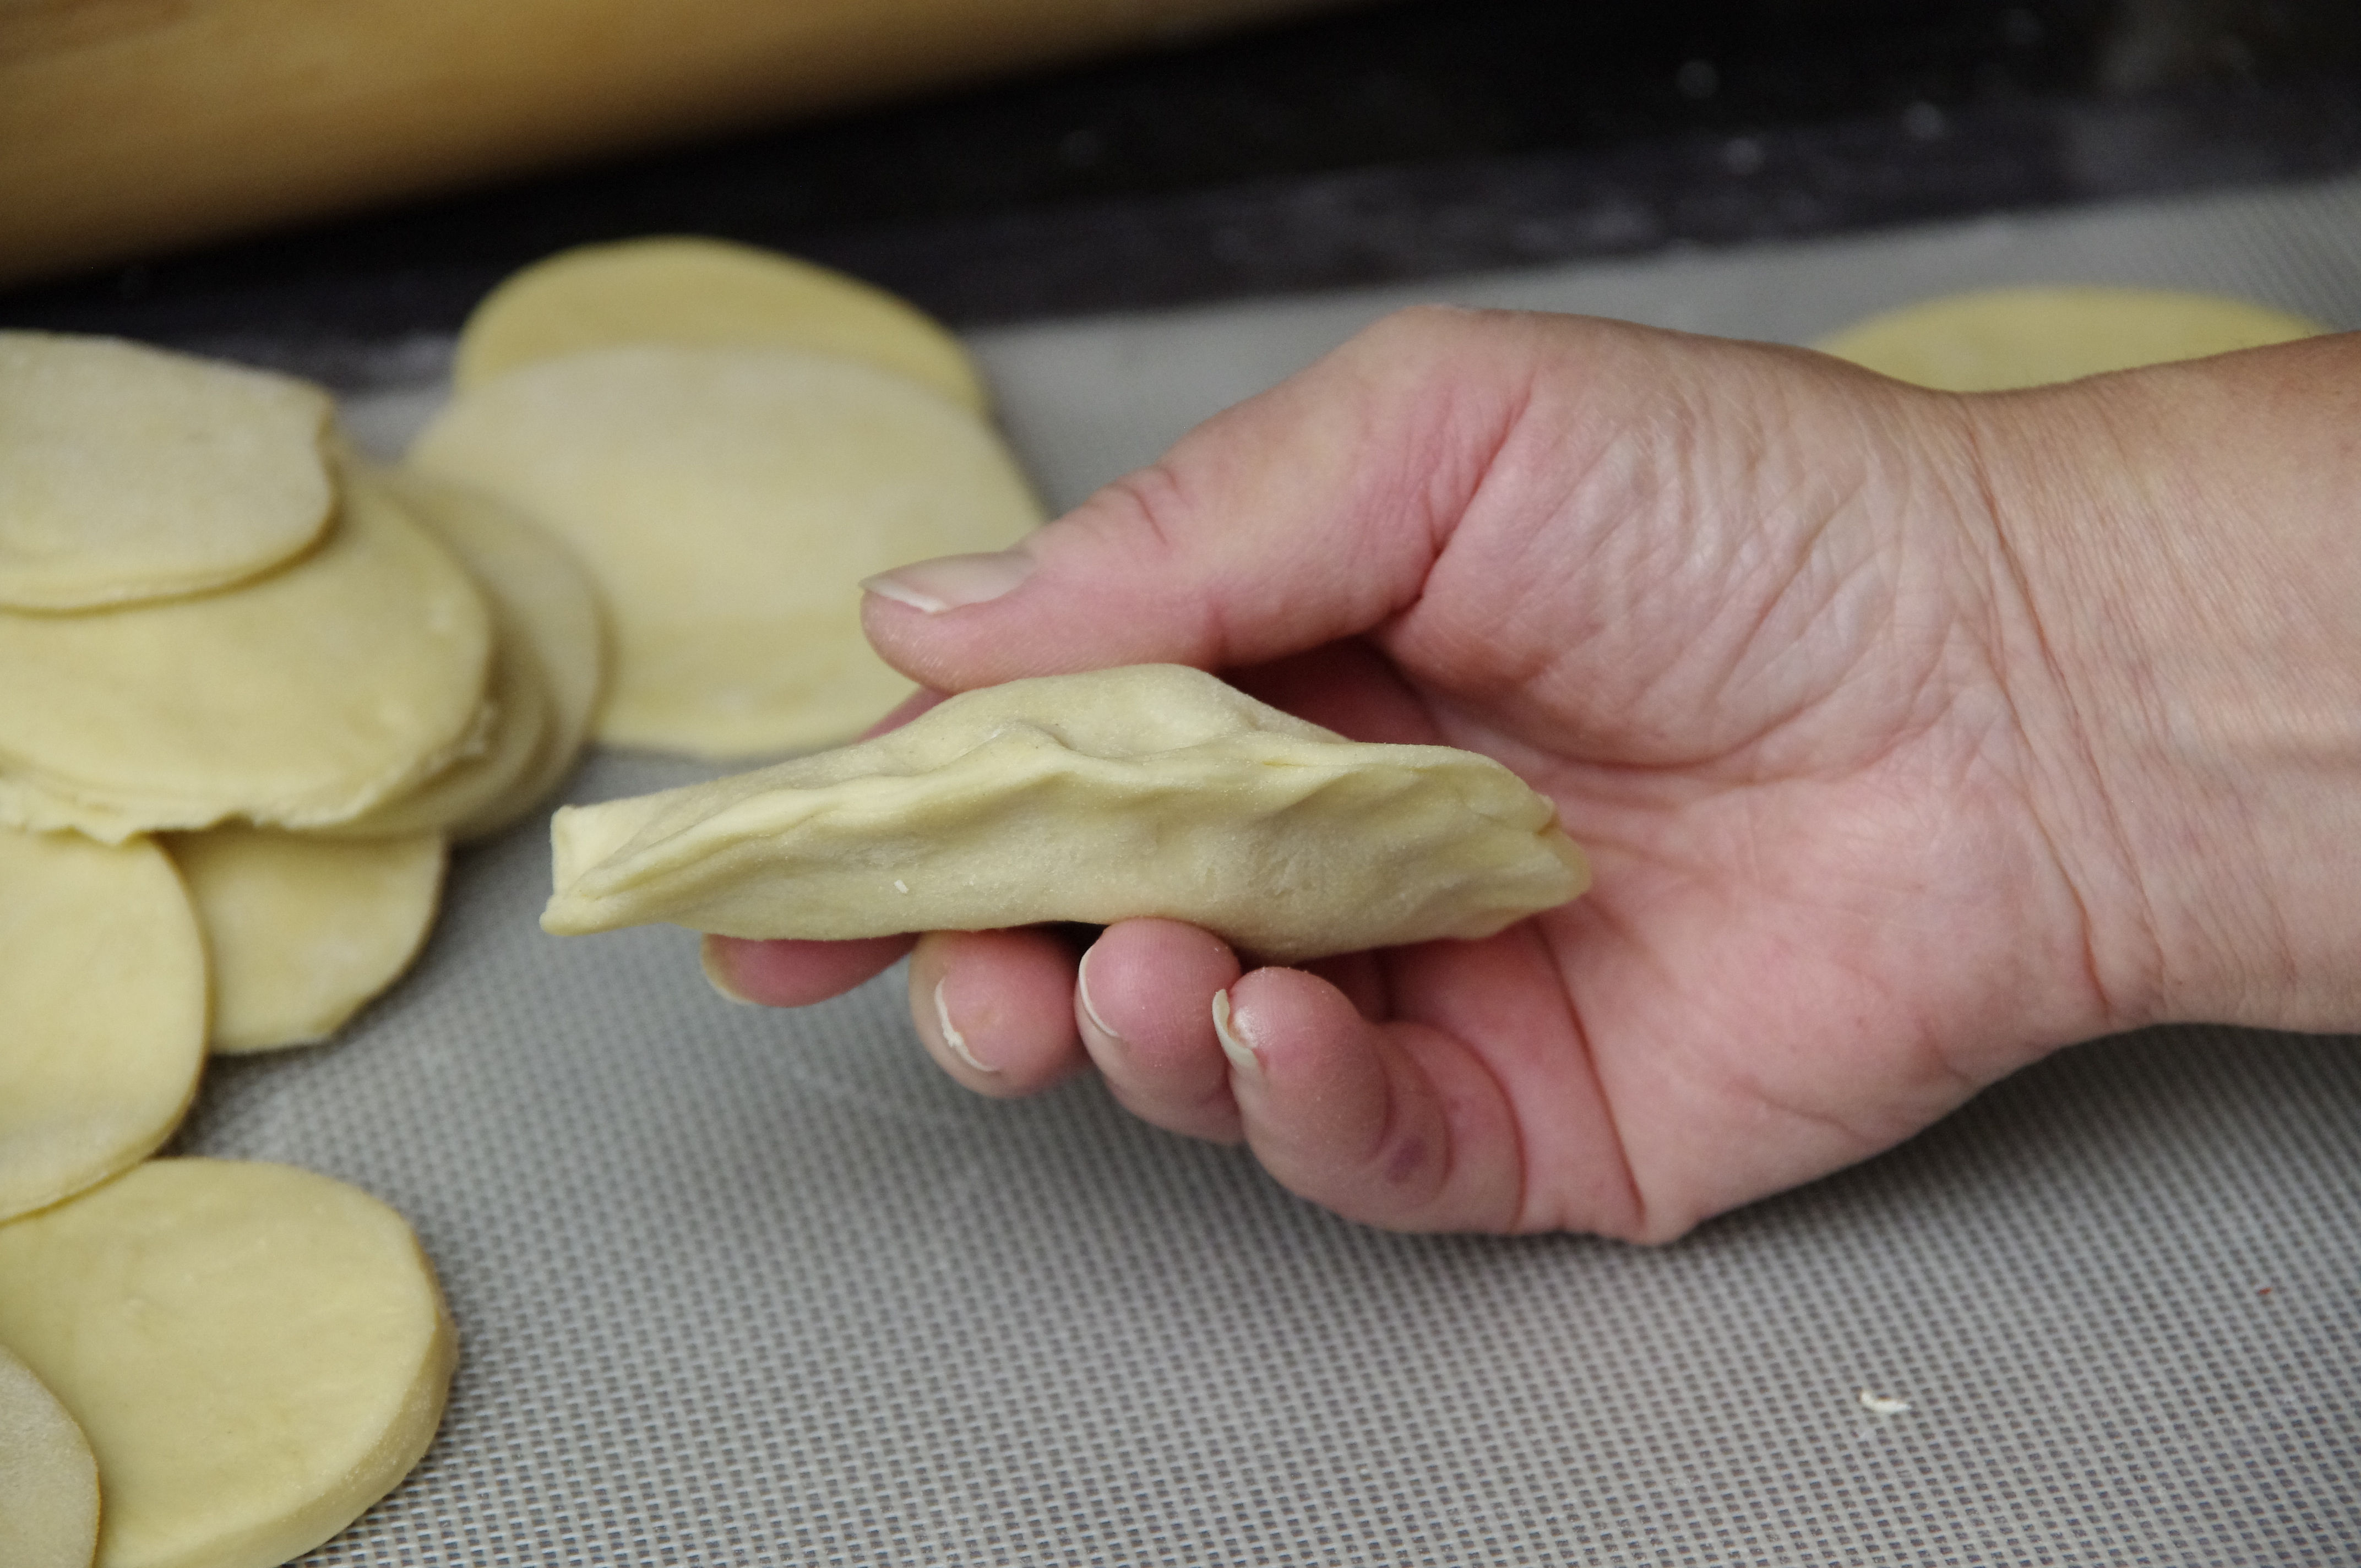
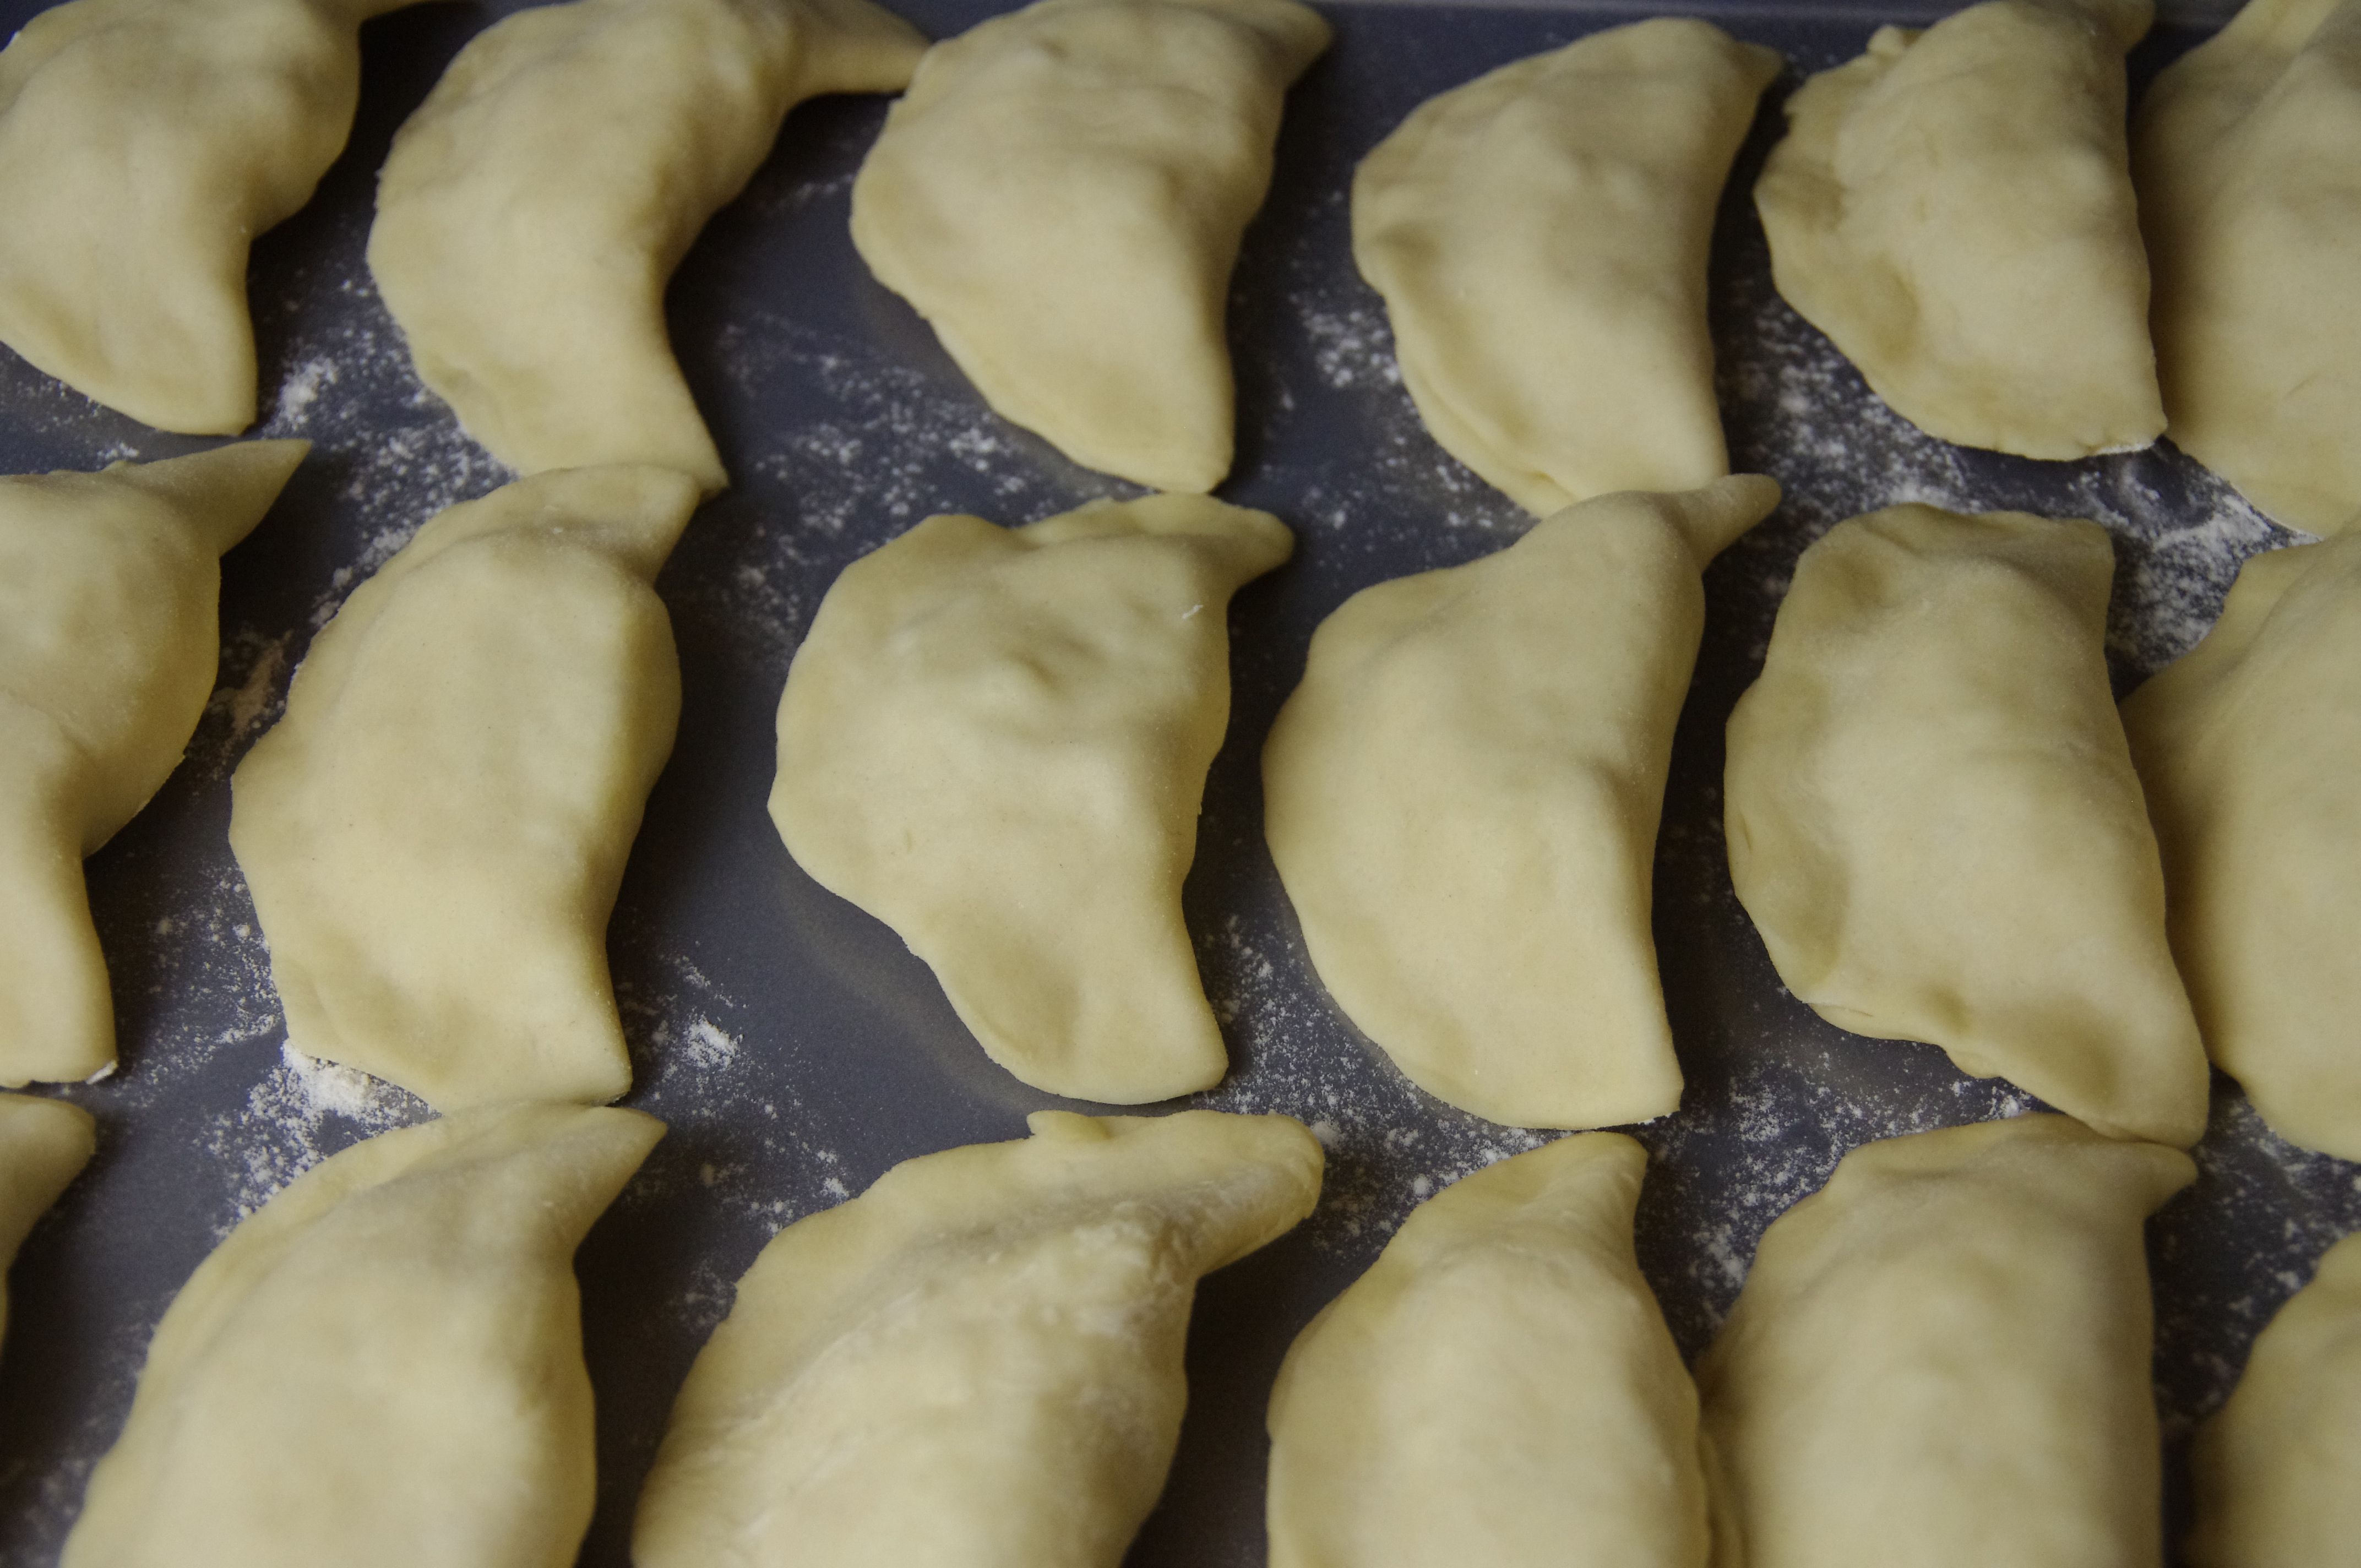
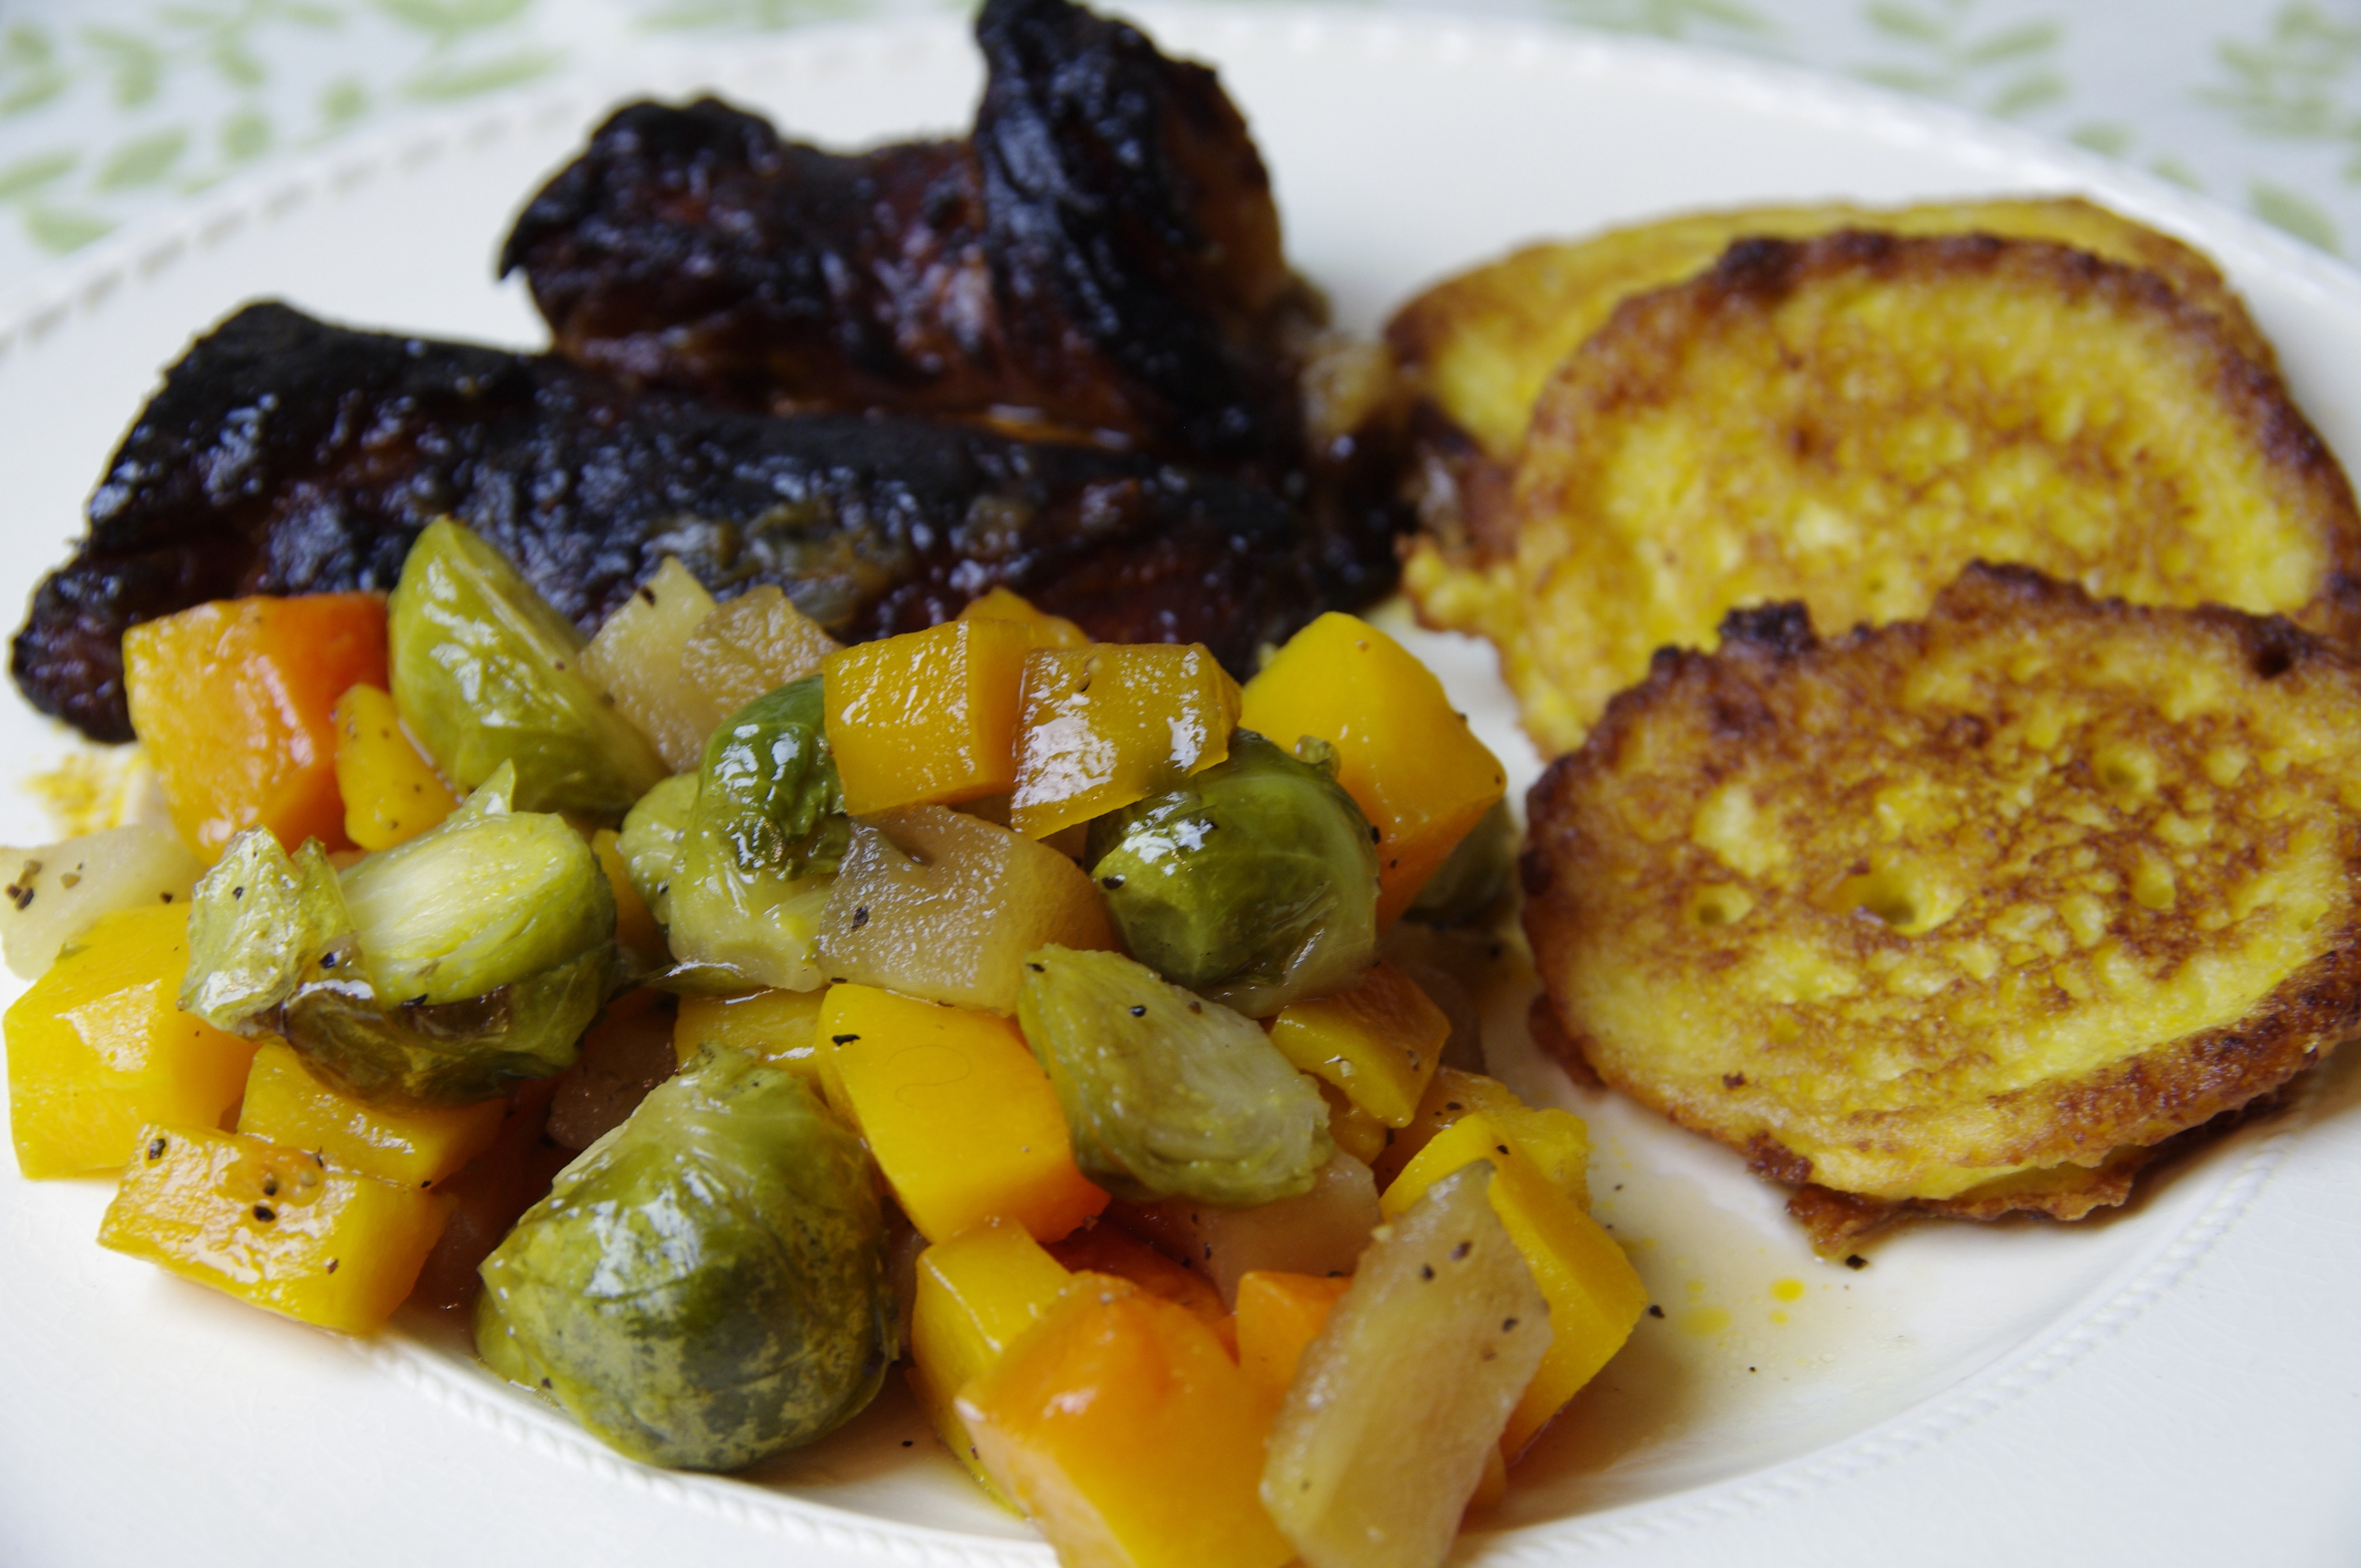
I made the Short Ribs in Red Wine, Corn Pancakes and Brown-sugar Squash and Brussels Sprouts. I enjoyed taking my family on a trip to France through my cooking from this great cookbook. Everything I made was a combination of fresh flavors and so easy with all the things I could buy Fresh From Oregon to make everything. I especially enjoyed the Brown Sugar Squash and Brussels Sprouts and ask my mom, I do NOT like Brussels sprouts. But I made this dish and yes mom, I ate the Brussels Sprouts and did not need two glasses of milk to get them down. When I read this recipe so many other combinations of fresh vegetables and fruit came to mind that I can do throughout the year as different things come into season. I was very lucky that Brussels Sprouts are in season now in Oregon and got some last week at the Portland Farmers Winter Market.
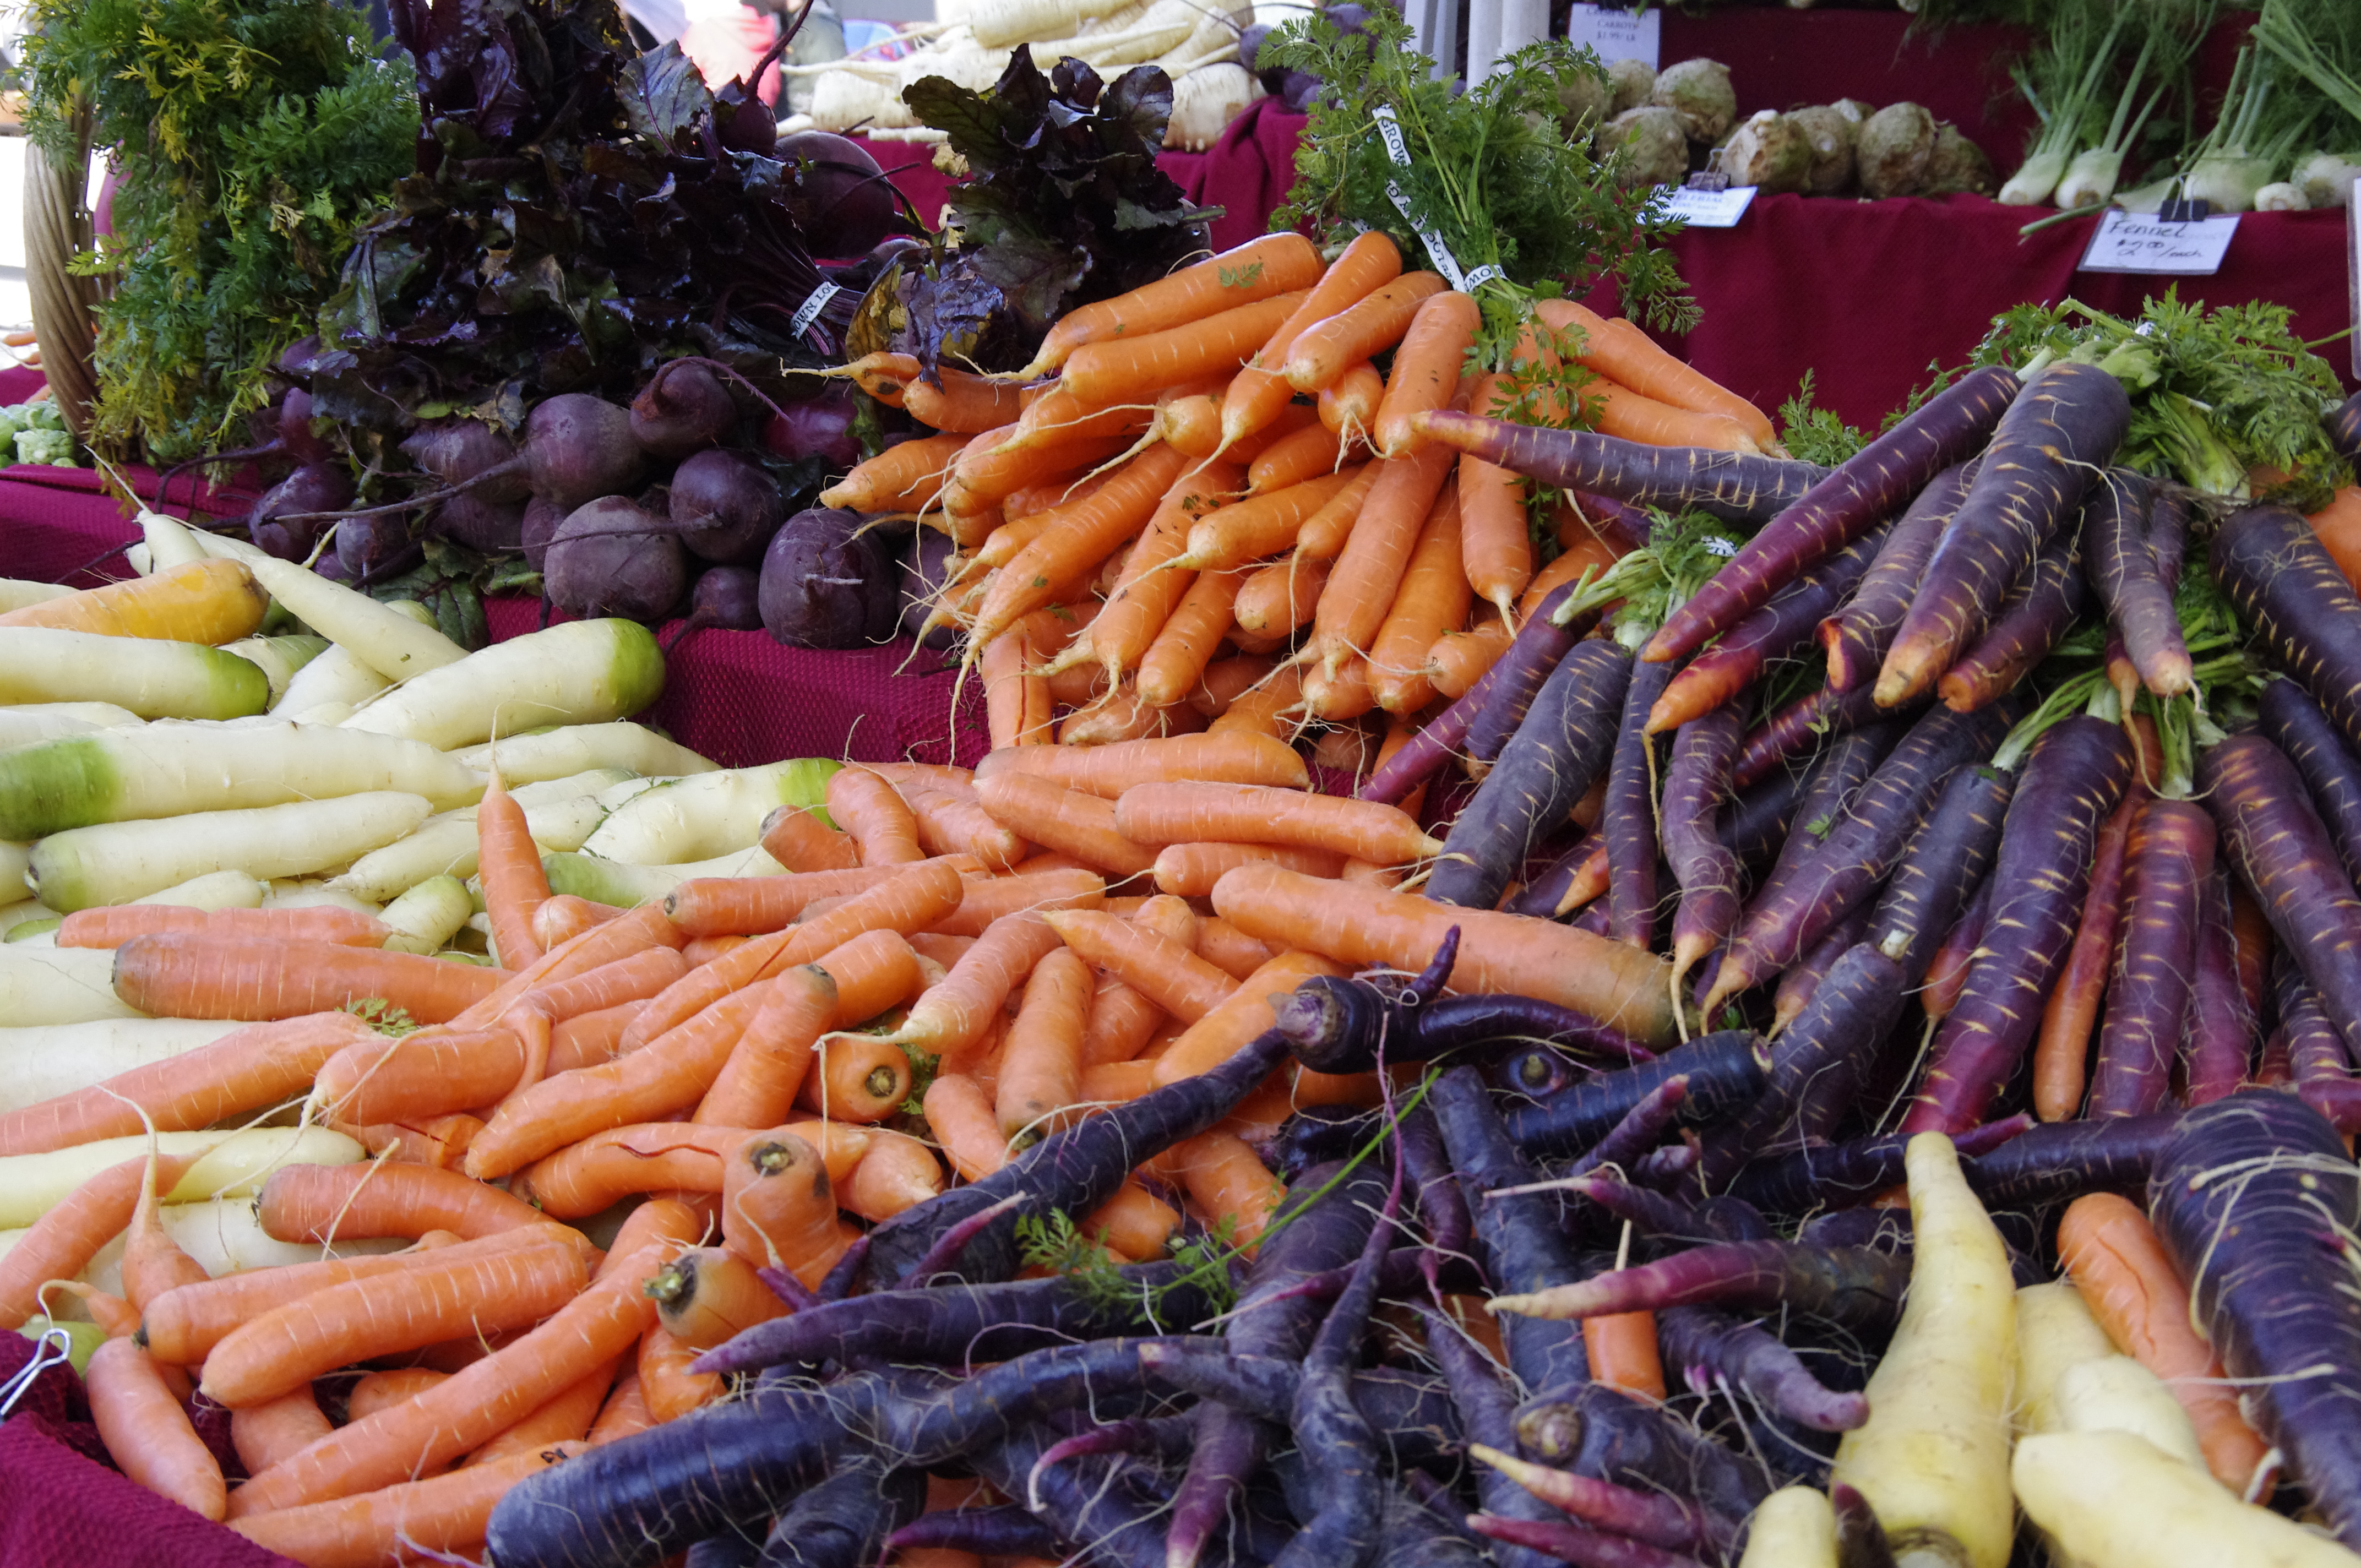
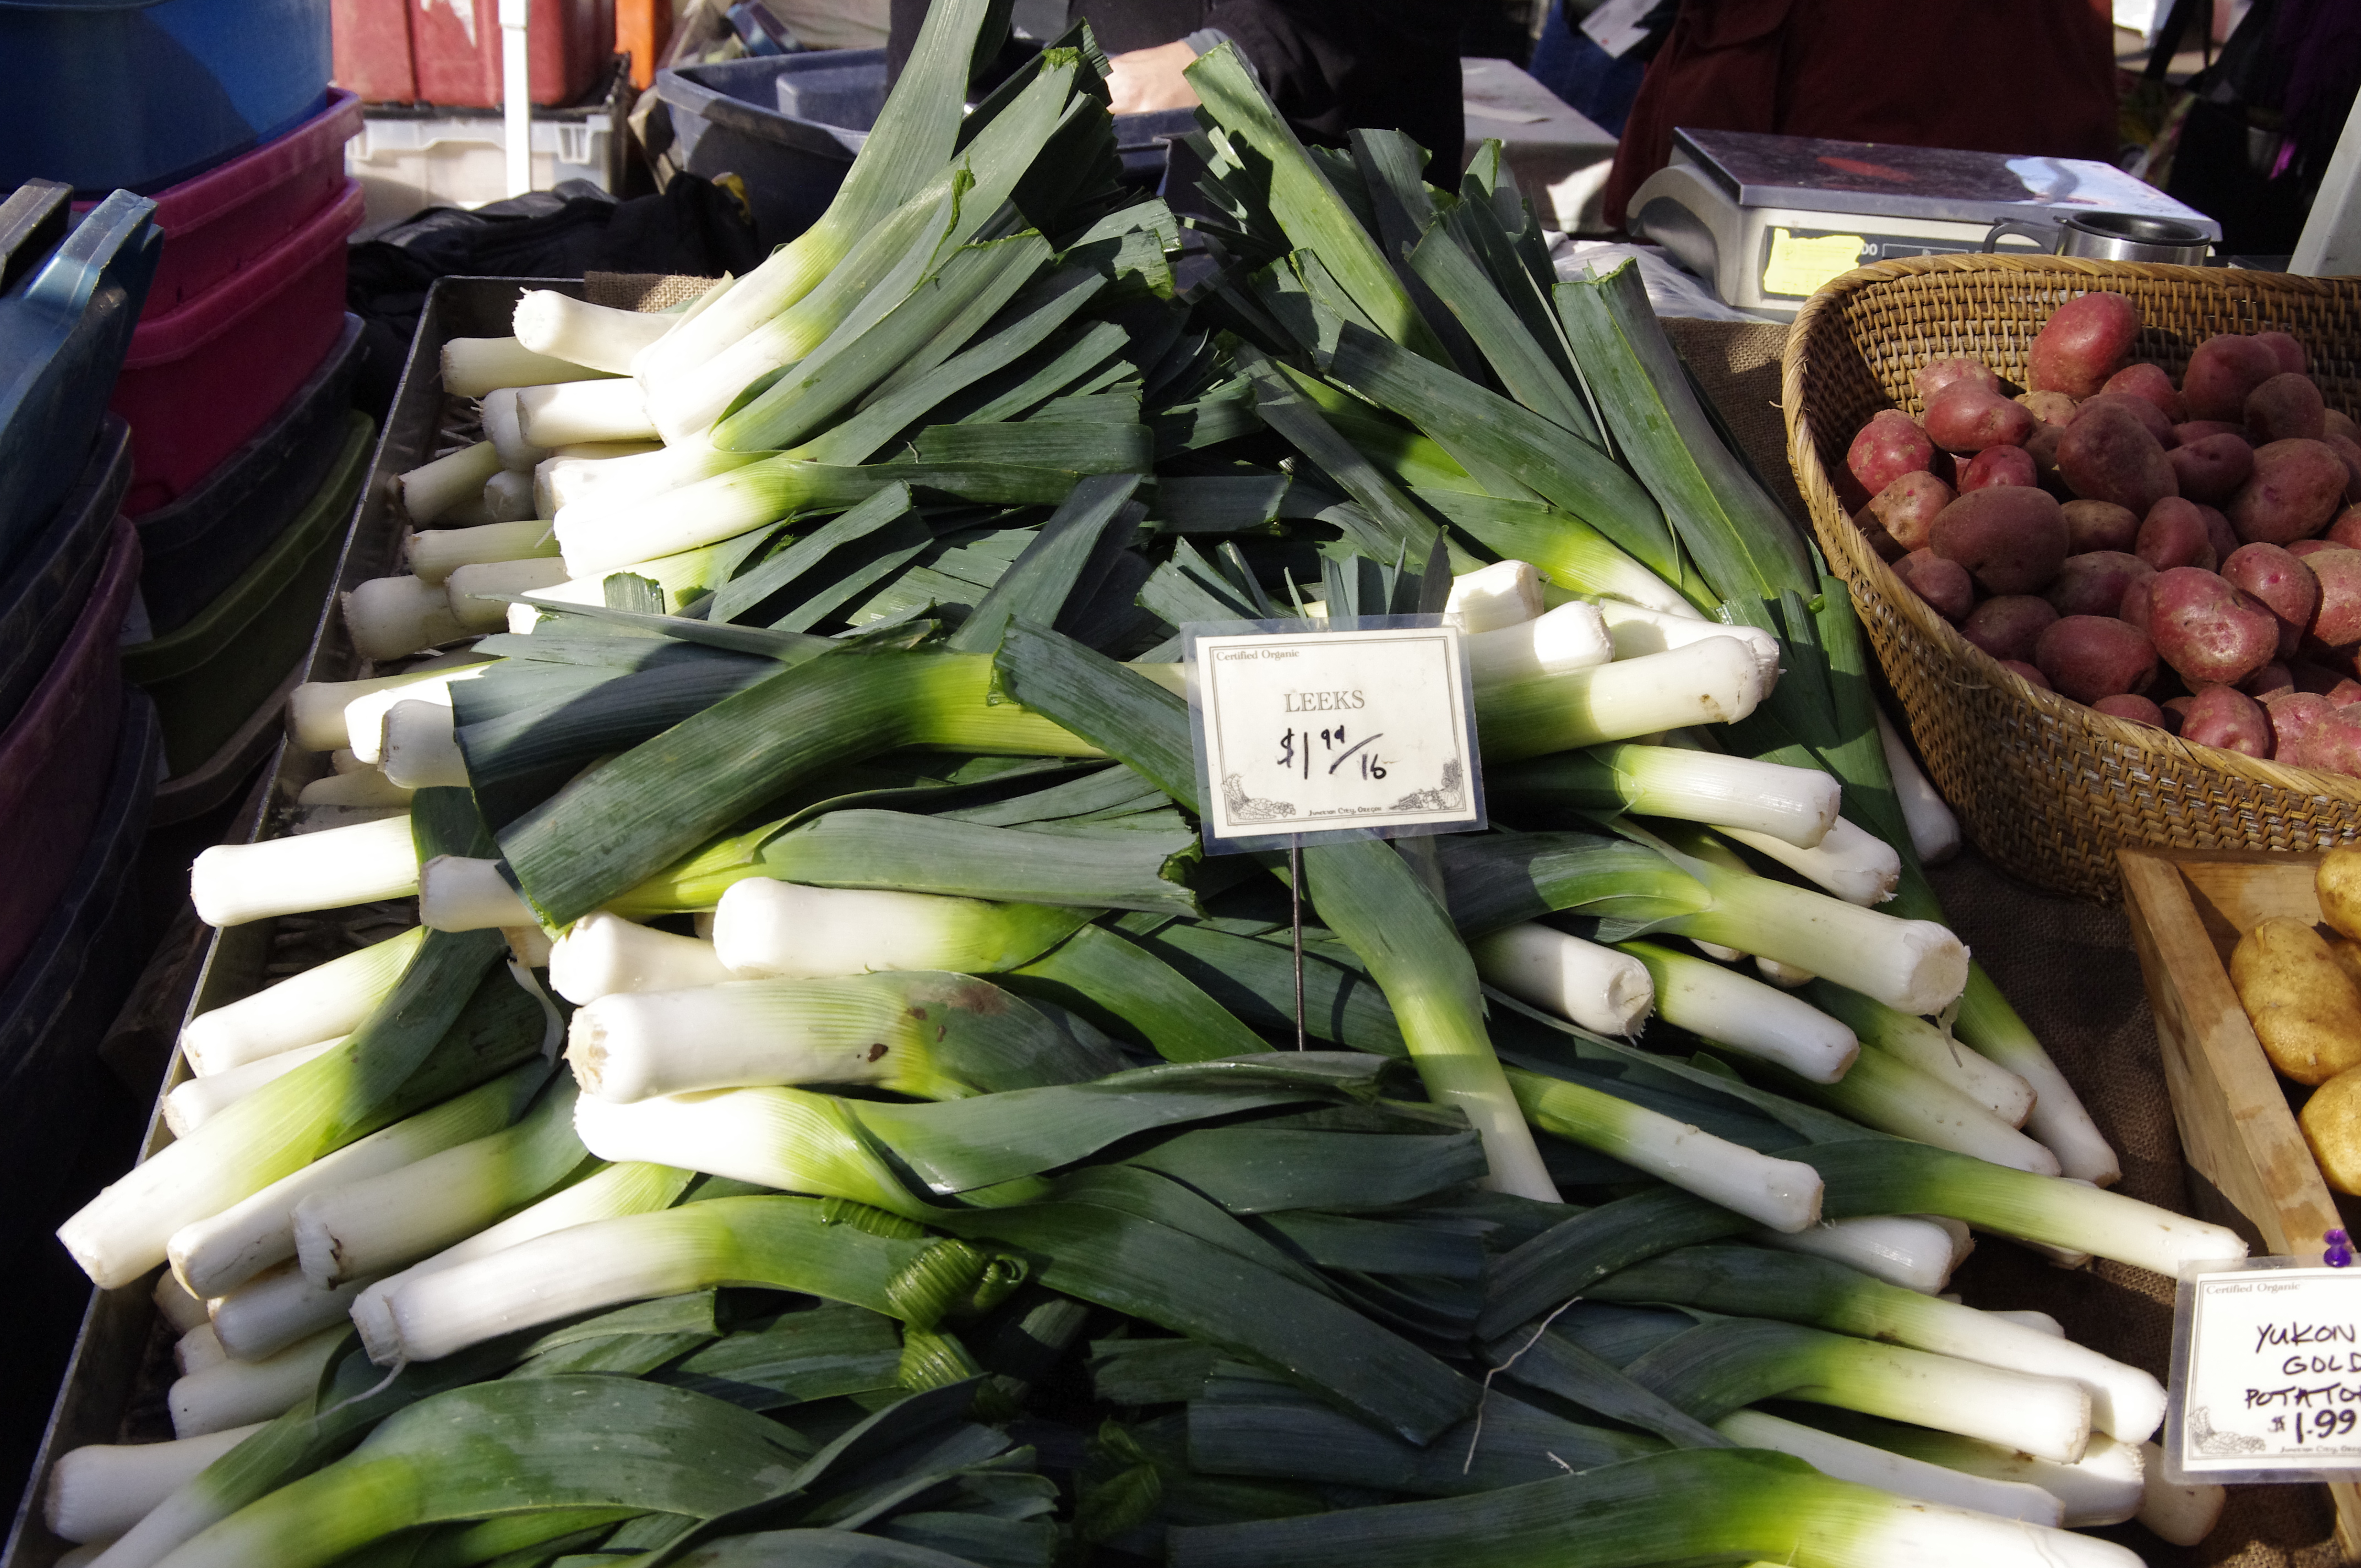
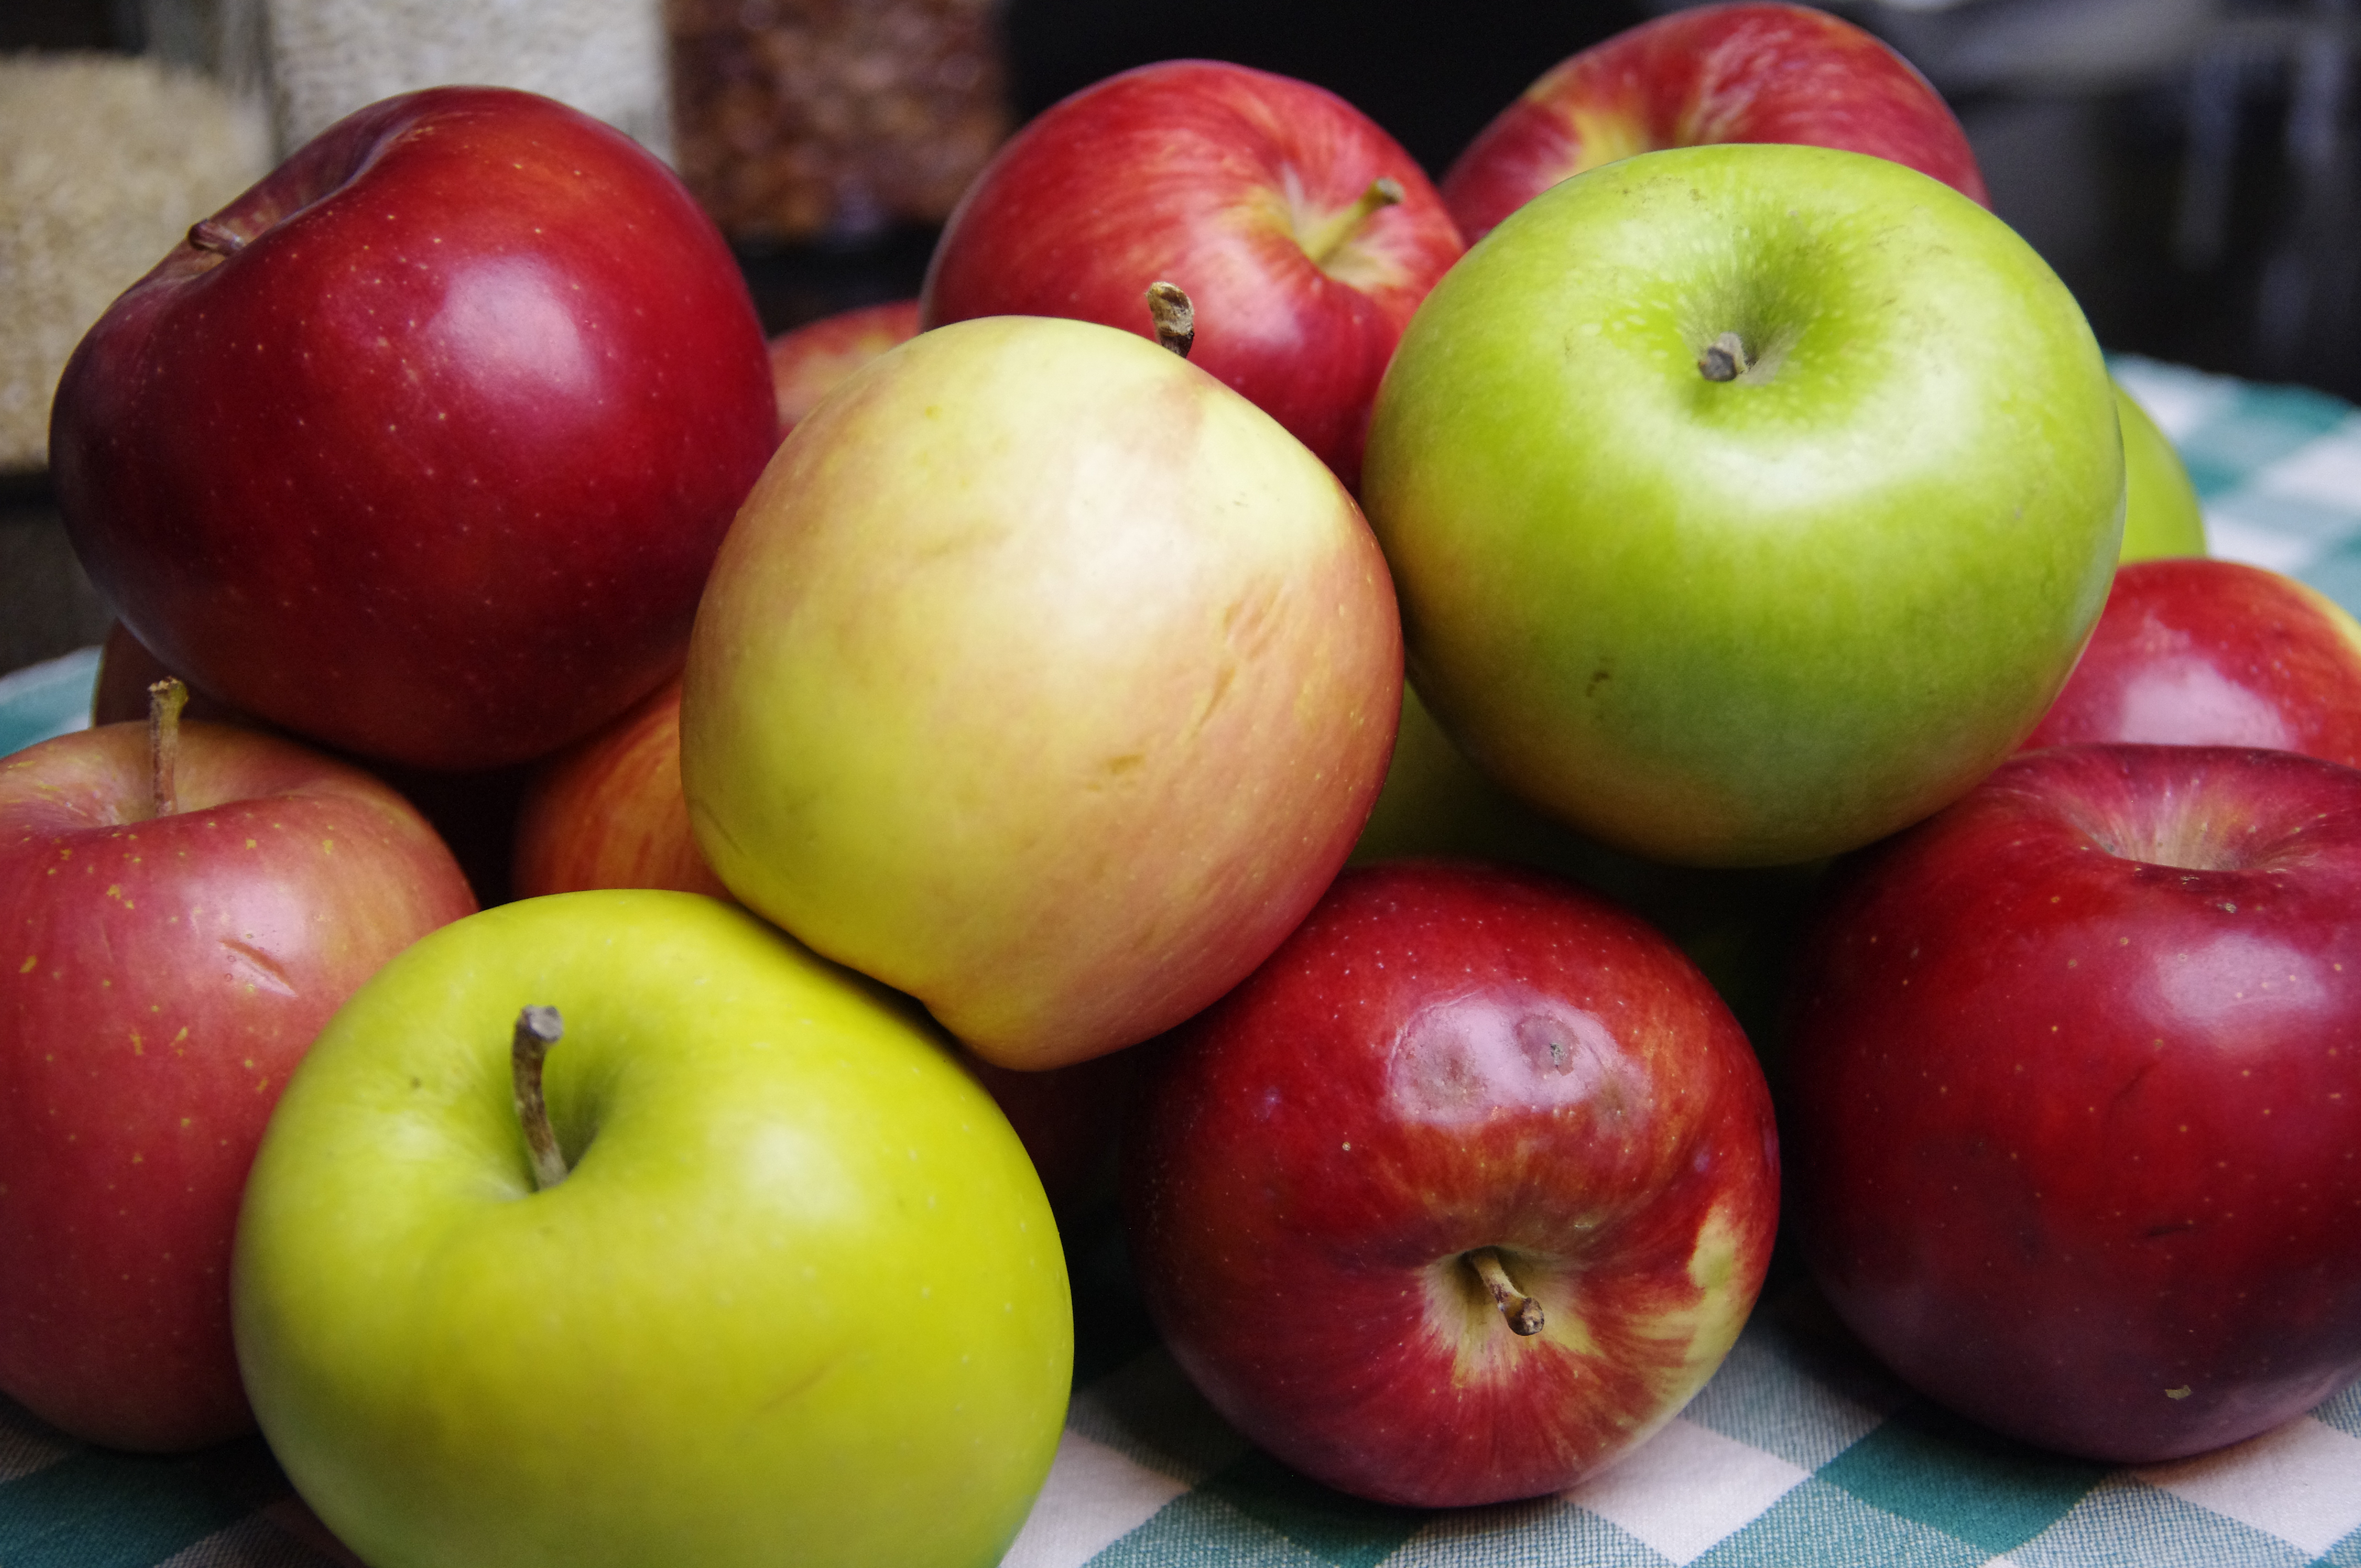
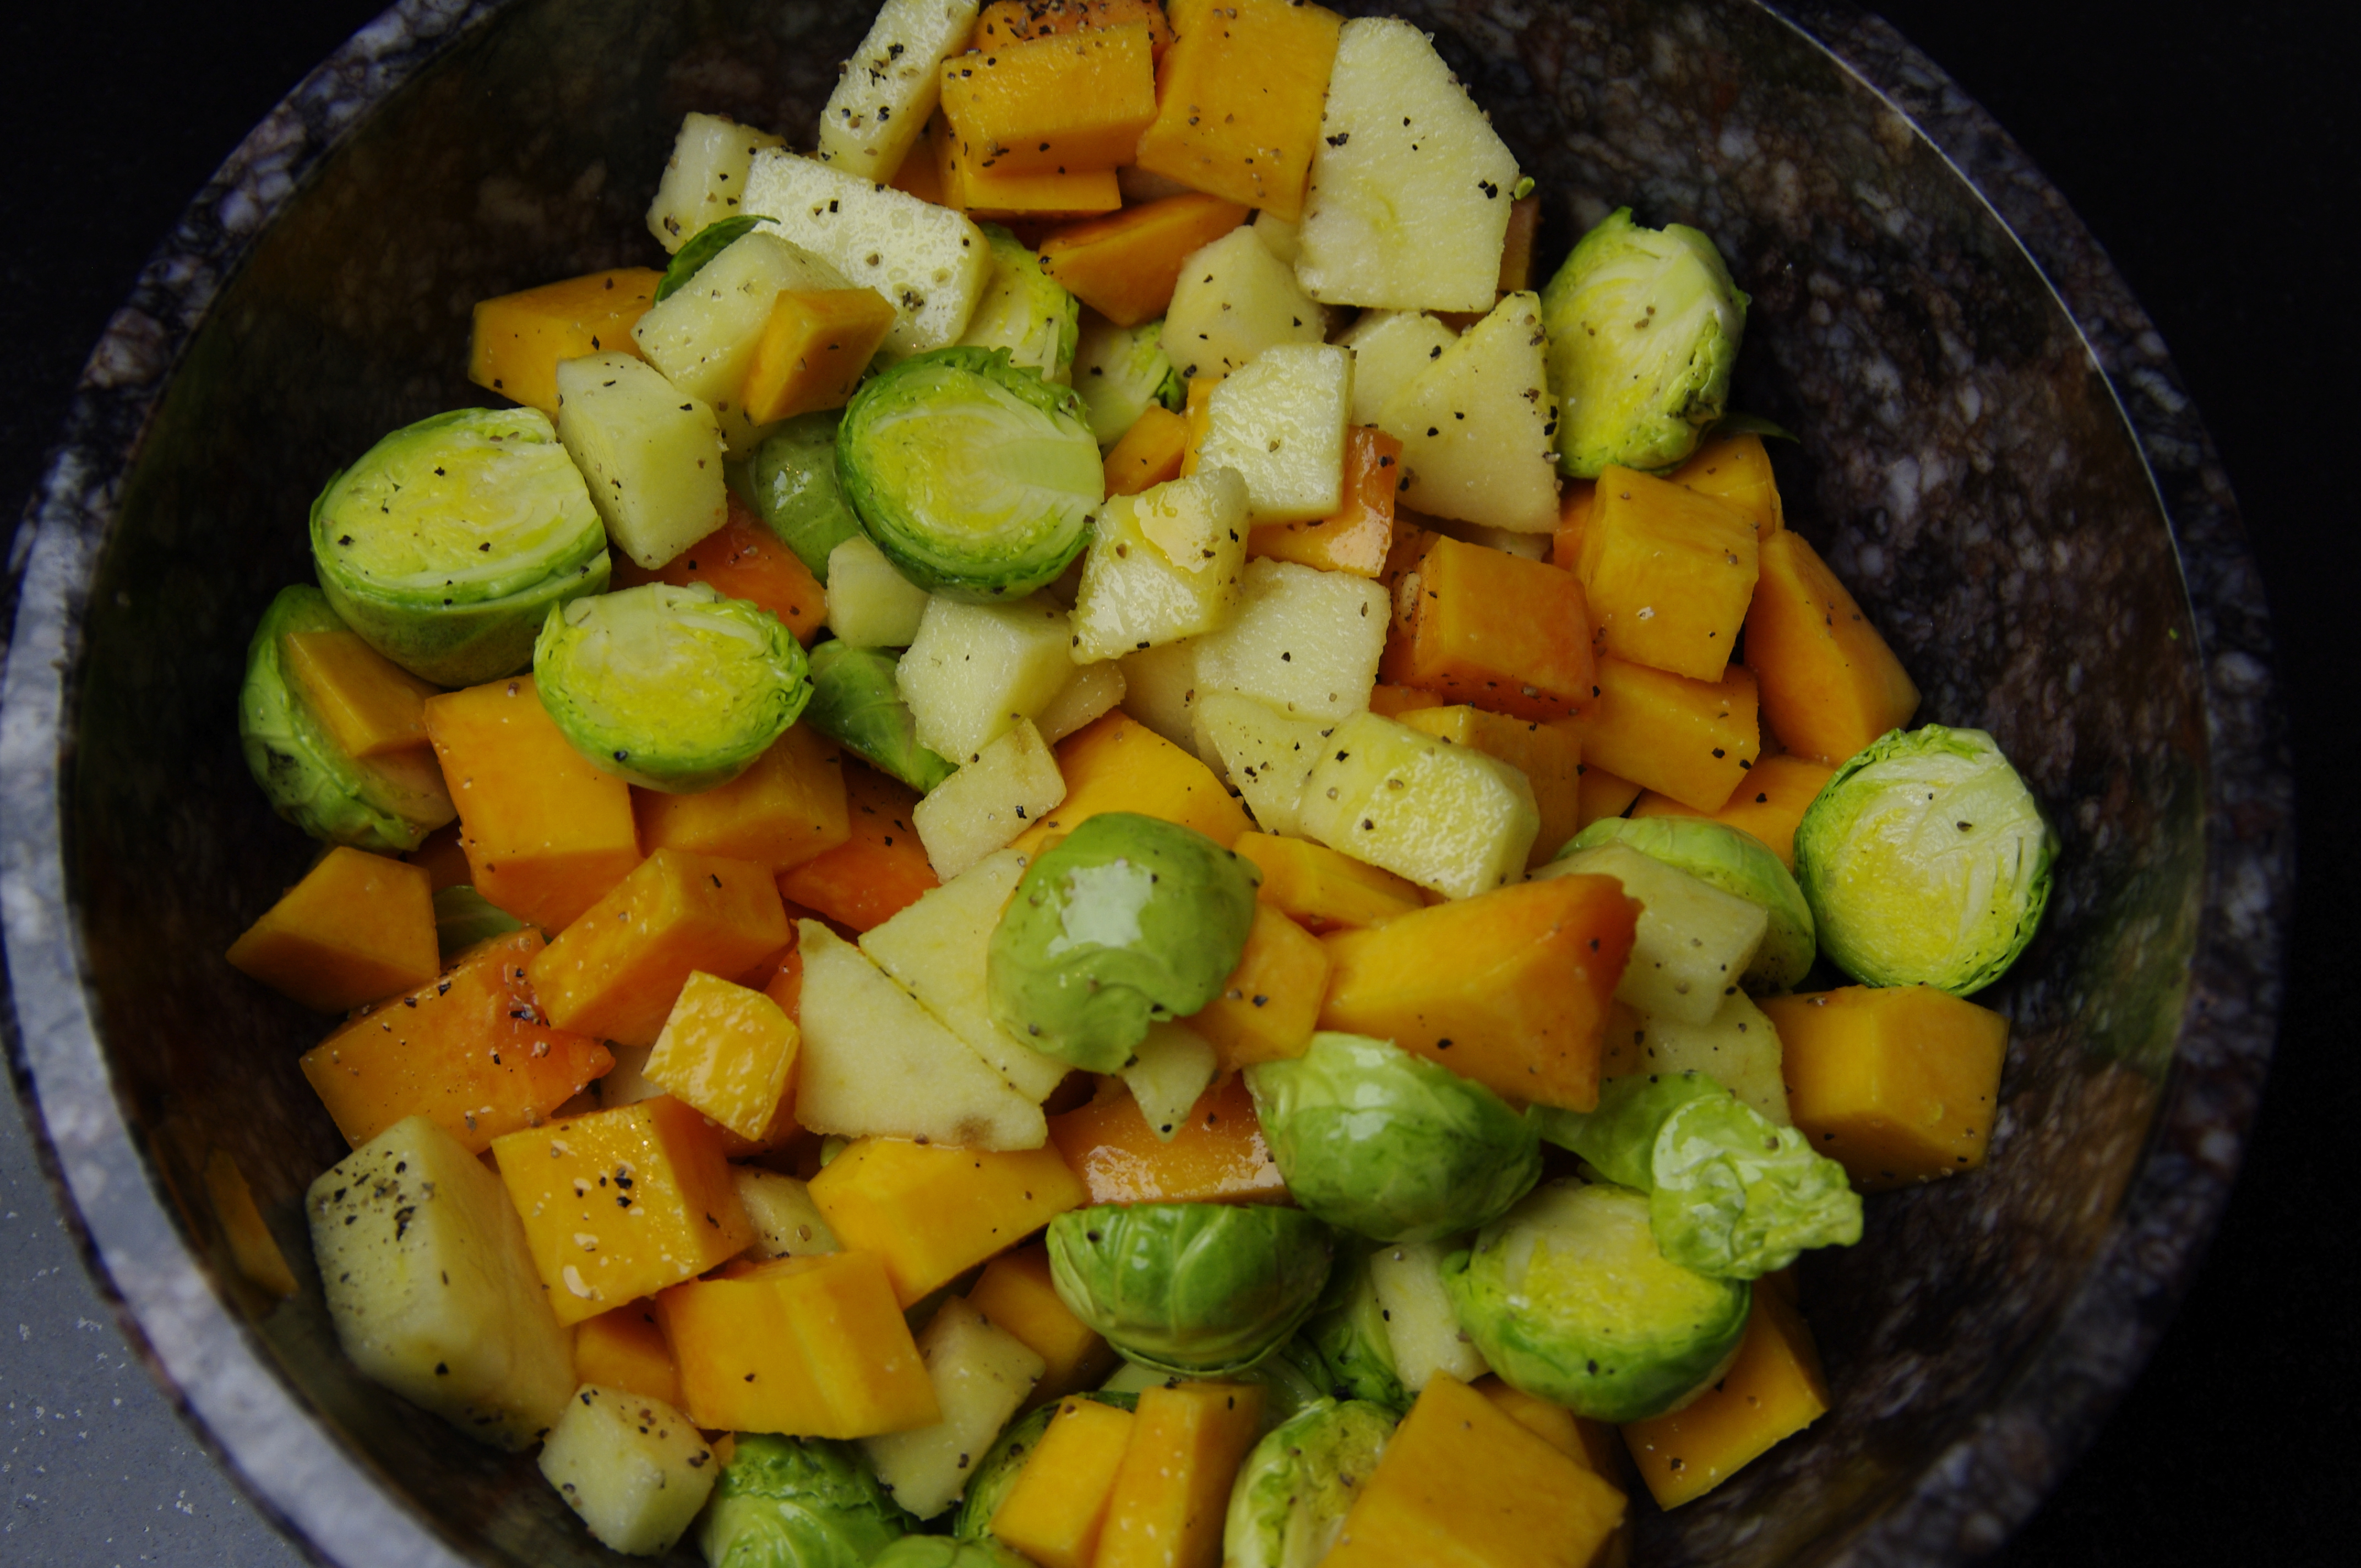
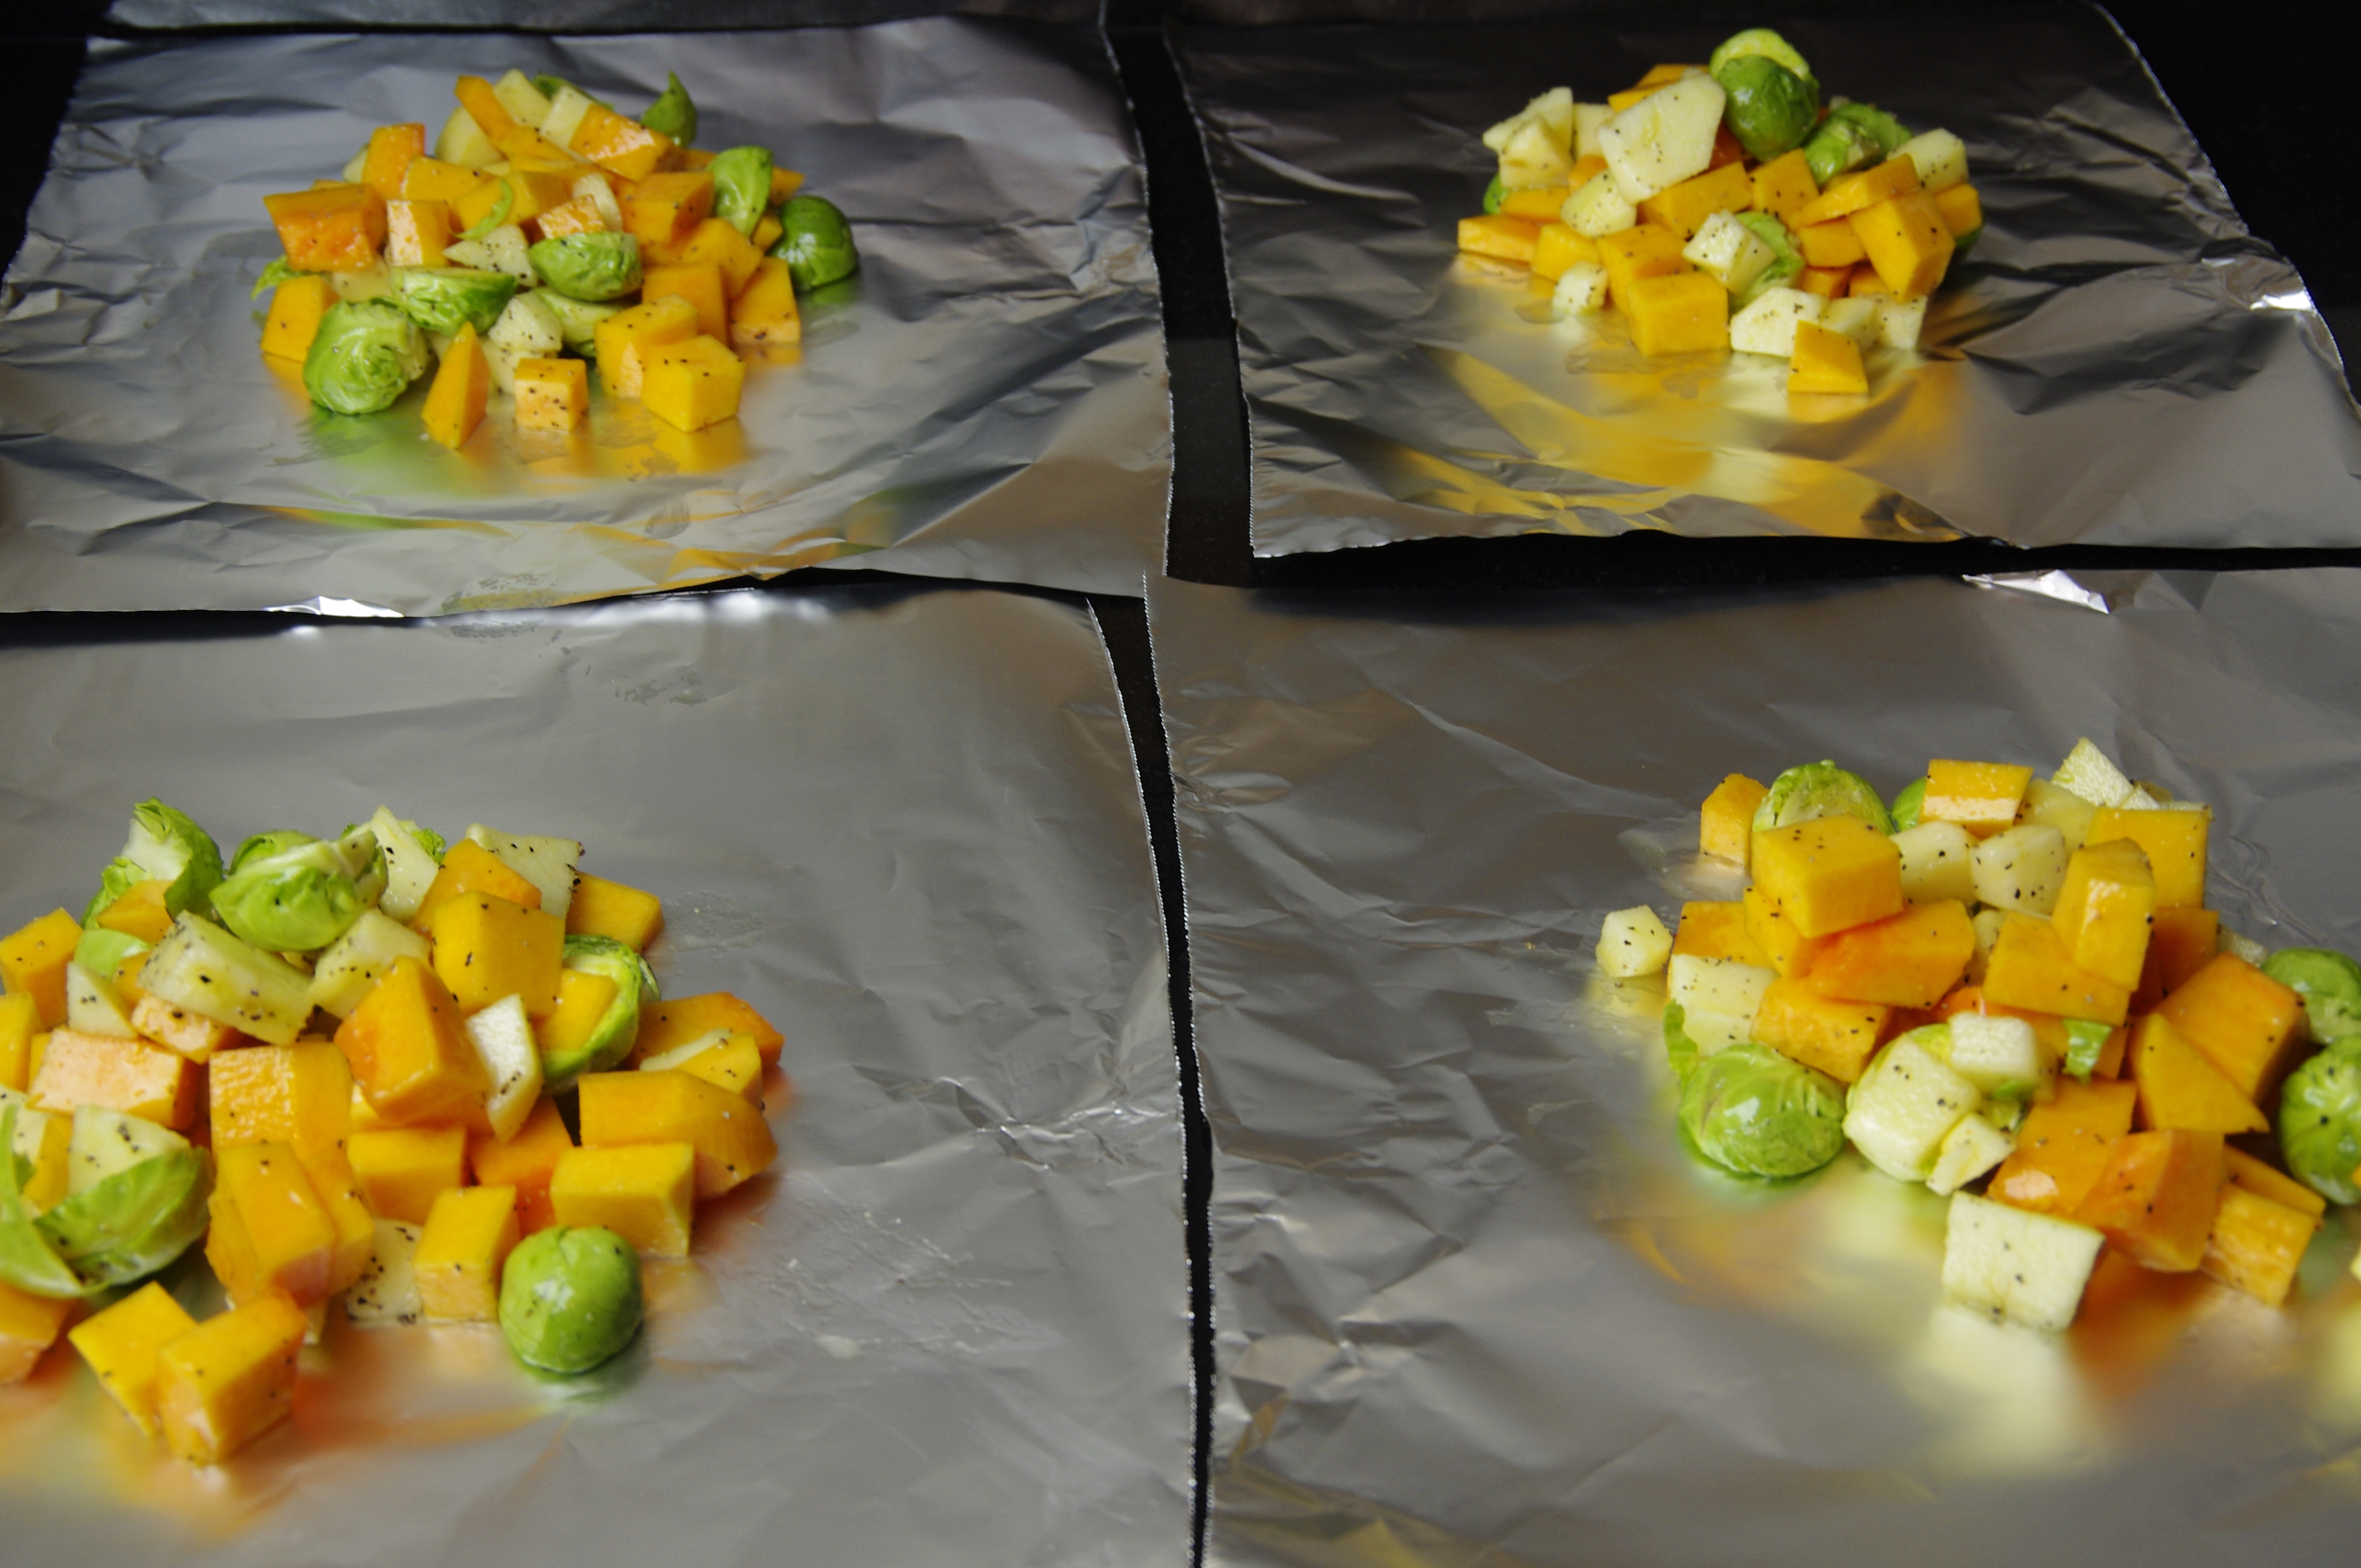
Here is how you can make your own bundle of sweet vegetables Fresh From Oregon. Preheat oven to 400 degrees and cut four squares of foil about 12″ x 12″. In large bowl combine 1 pound of butternut squash that has been peeled and cubed with 16 small Brussels Sprouts that have been cut in half. Add 1 apple (I used a sweet one) that has been peeled and diced. Toss with 4 teaspoons of olive oil, salt and pepper to taste. Divide the mixture between the four pieces of foil and top each with a teaspoon of brown sugar, I used a heaping teaspoon of brown sugar. The original recipe calls for a fresh piece of sage on top of the brown sugar but since my sage plants were covered with snow I skipped adding one. Draw up the edges of the foil and seal making a little package. Place on baking sheet and cook for 25 minutes or until vegetables are tender. I am already thinking that the orange, yellow, white and purple carrots I also got at the winter market will be my next combination with some fresh thyme!
Celebrate National Pie Day with Coconut Cream Pie
January 23rd is National Pie Day and what better way to celebrate the day than a delicious Coconut Cream Pie. This creamy pie has another surprise a layer of chocolate on the bottom.
Here is the Wikipedia definition of a pie: A pie is a baked dish which is usually made of a pastry dough casing that covers or completely contains a filling of various sweet or savoury ingredients.
Here are a few facts about the pie:
- The pie is America’s favorite dessert
- The average American eats six slices of pie a year
- Pie has been around since the ancient Egyptians
- Pie came to America with the first English settler
Coconut Cream Pie with Chocolate
Coconut Filling
1/2 cup semi-sweet chocolate, melted
1 baked pie shell
14 ounces coconut milk
1 cup milk
1/2 cup unsweetened coconut
1/2 cup sugar
1/2 teaspoon salt
5 large egg yolks
1/4 cup cornstarch
1 tablespoon sugar
1 tablespoon butter
1 teaspoon vanilla extract
Whipped Topping
1 1/2 cups heavy cream
2 tablespoons sugar
1/2 teaspoon vanilla extract
1 tablespoon unsweetened coconut, toasted
Spread chocolate on the bottom of the baked pie shell and set aside.
Bring coconut milk, milk, ½ cup shredded coconut, ½ cup sugar and salt to simmer over medium-high heat, stirring occasionally to ensure sugar dissolves.
Whisk egg yolks, cornstarch and 1 tablespoon sugar in medium bowl until thoroughly combined. Whisking constantly, gradually ladle about 1 cup hot milk mixture over egg yolk mixture; whisk well to combine. Whisking constantly, gradually add remaining milk mixture to yolk mixture in 3-4 additions; whisk well to combine.
Return mixture to saucepan and cook until thickened and mixture reaches a boil, whisking constantly, about 1 minute; filling must boil in order to fully thicken. Large bubbles should quickly burst on surface.
Off heat, whisk in butter and 1 teaspoon vanilla until butter is fully incorporated. Pour hot filling into pie shell and smooth surface; press plastic wrap directly against surface of filling and refrigerate until firm, at least 3 hours.
Just before serving, beat heavy cream, 2 Tbsp sugar and ½ tsp vanilla with electric mixer until soft peaks form about 1 ½ – 2 minutes. Top pie with whipped cream topping and then sprinkle with toasted coconut.
Pears, Blue Cheese and Hazelnuts do I need to say any more?
Here is another recipe I adapted from the Cook to Books January challenge from Around My French Table by Dorie Greenspan. The original recipe was a Gorgonzola-Apple Quiche and to make it a Fresh From Oregon taste I made it with pears and an Oregon blue cheese and added hazelnuts to the crust. I was at the Portland Farmers Winter Market this past Saturday and picked up a few really nice ripe pears. If you want the best blue cheese in Oregon then you need the Rogue Creamery Blue Cheese. It has a high price per pound but worth it and you only need 2 ounce in this quiche and you will taste the difference. I decided to make this for lunch yesterday and serve to my husband and son and was ready for the reaction “Quiche” is not a man’s meal. But to my surprise they both enjoyed it and ate every bite. I served it with a mixed greens tossed salad and dried cranberries and my homemade Balsamic Vinaigrette and topped it with some candied walnuts. Enjoy my version below and let me know how you like it.
Pear and Blue Cheese Quiche with Hazelnut Crust
Hazelnut Tart Dough
1 1/4 cup Bob’s Red Mill white flour
2 Tablespoon hazelnuts, finely chopped
1/2 teaspoon salt
6 Tablespoon butter, cold
1 large egg, beaten
1 teaspoon water, cold
I made my dough in the food processor really quick and easy. Place flour, hazelnuts, sugar and salt in bowl of food processor with the blade attachment. Pulse a few times to mix, add the butter in small pieces and pulse again to make smaller pieces. Add egg and water and pulse until the dough holds together when pinched. I found I needed to add another teaspoon of cold water since I added in the hazelnuts. Dump the dough onto the counter and gather together into a ball and flatten to a disk shape. Wrap in plastic wrap and refrigerate for at least 3 hours, I refrigerated my dough over night. To bake the dough I lightly floured my counter and sprinkled some flour on the top of the dough and rolled it out to slightly bigger than my tart pan. Place the dough in a 9-inch tart pan and gently press into the bottom and up the sides taking off any extra dough along the side. With a fork prick the bottom crust in several places. I lined the crust with foil and added beans to keep the bottom and side in place while it baked. Bake in a preheated 400 degree oven for 20 minutes, remove foil and bake another 3 minutes. Place on wire rack to cool.
Pear and Blue Cheese filling
1 tablespoon butter
1/2 cup onion, chopped
salt & pepper, to taste
1 pear, peeled and diced small
2 ounces Rogue Creamery Blue Cheese
2/3 cup heavy cream
3 large eggs, (I used 1 more egg than the original recipe used)
Preheat oven to 400 degrees. Melt the butter in a skillet over medium heat and add the onion and salt & pepper to taste. Cook until slightly brown, about 5 minutes. Spread the onions in the bottom of the hazelnut tart shell. Evenly spread the pears and then the blue cheese over the onions. In small bowl beat the heavy cream and eggs, season with salt and pepper, pour over the pears and blue cheese. Bake for 30 minutes or until brown or a knife inserted in the center comes out clean. Set on rack for at least 5 minutes to set the eggs completely. The Fresh From Oregon Quiche is ready to serve, enjoy.
Recipe adapted from: Around My French Table by Dorie Greenspan
Cook the Books! A Cookbook Challenge!
So you ask what is Cook the Books? It is a year-long challenge of cookbooks, each month for the next 12 months focuses on 12 different cookbooks. The idea was dreamed up by two bloggers Grow & Resist and Oh, Briggsy, way to go girls! This is a way for me to explore 12 new cookbooks throughout the year, make new recipes and give a Pacific Northwest twist to the recipes I make. Towards the end of each month you will come along with me in my blog and explore a new cookbook.
The book for the January challenge is “Around My French Table” by Dorie Greenspan. I bought the digital version and downloaded a copy to my computer and started exploring the book. At first I thought french cooking would not be something I would do. But as I read the recipes and saw the use of fresh vegetables, fruits and salmon in many of the recipes I realized that this is what cooking Fresh From Oregon is all about. I bookmarked the recipes I wanted to make and thought about how to give them the Fresh From Oregon taste. The first thing I started with was the “Sweet & Spicy Cocktail Nuts” and to give it an Oregon flavor I used hazelnuts. Enjoy the nuts below with your favorite drink. I even added them to my salad for dinner last night!
1/2 cup sugar
1 1/2 teaspoon salt
1 /2 teaspoon chili powder
1/2 teaspoon ground cinnamon
Pinch cayenne pepper or 1/4 teaspoon if you like them spicy
1 large egg white
2 cups Hazelnuts
Preheat your oven to 300 degrees. I placed a piece of parchment paper on the baking sheet for the nuts so I could clean easily when done.
In a small bowl mix together the sugar and spices. Use a fork and a medium size bowl and beat the egg for about 30 seconds to get it a little foamy. To give it that Fresh From Oregon taste I used hazelnuts. Stir the hazelnuts to coat them with the egg whites, then add the sugar and spice mixture and mix until all the hazelnuts are coated. I thought they would be spicier so if you want a real kick add at least 1/4 teaspoon of the cayenne pepper. I wanted the easy way out so I poured the mixture on the parchment paper and separated them after they cooled. Bake for 20-25 minutes, or until the hazelnuts are browned and the coating is not sticky anymore. Watch the last 5 minutes, they really start to cook and brown quickly. I cooled for 15 minutes and just broke apart each of the nuts.
Adapted from: Around My French Table by Dorie Greenspan
Portland Farmers Winter Market
As we entered the upper end of the market I could not believe the fresh piles of fruits and vegetables at Groundwork Organics. I started picking out some fresh leeks, potatoes and onions for the potato leek soup I will be making this week. Their big display of brussels sprouts were perfect for the new dish I am making with the butternut squash and apples I had at home. It was a cook’s dream at every booth I passed. The broccoli, kale, chard, fennel, cabbage, turnips and parsnips made me dream of more soup in the future. If you did not stock up on your favorite squash last fall there were all kinds to choose from including pumpkins that would make the best pie. Thinking of pie my favorite apple place, Kiyokawa Family Orchard had a large selection of apples and pears and some great looking Honeycrisp my number one apple for everything. Carrots, did I tell you they had orange, yellow, white and purple I had to have some of each. The farm fresh eggs were stacked on tables and if you wanted some fresh meat there was pork, beef, chicken and salmon. One also can not resist the fresh bread vendors and of course handcrafted cheeses. I got some delicious samples of Irish Cheddar and Gouda from Jacobs Creamery. They also had some hand churned Irish butter, churned on Friday and I could not hold myself back and now there is a tub in my refrigerator.
Skillet Apple Pie
It is the first week in January and it is time to sort the apples I bought this past fall. If you get the right type of apple you can keep them stored in your refrigerator for 4 to 6 months. I am coming up on the 4 month mark and need to use up some apples. I pulled the rest of my Winesap, Empire, Granny Smith and Pinova apples out and had enough to make two apple pies. I have been wanting to try the Skillet Apple Pie I added to my Pinterest page last October so I pulled out my 12″ cast iron skillet (10″ is a normal size). I also made a small 8″ pie for the local fire department to enjoy. I had just pulled two hot apple pies from the oven as my husband walked by my kitchen, I think he smells them coming out and the only words he said was that is a giant pie! So clean out the refrigerator of your mixed apples or visit some local farm markets that still have a few apples left and make a skillet apple pie!
4 pounds of mixed baking apples
1 teaspoon ground cinnamon
3/4 cup granulated sugar
1/2 cup butter
1 cup firmly packed light brown sugar
pie crust for a double crusted pie
1 egg (optional)
2 tablespoons granulated sugar (optional)
Preheat oven to 350º. Peel apples, and cut into 1/2-inch-thick wedges. Toss apples with cinnamon and 3/4 cup granulated sugar.
Melt butter in a 10-inch cast-iron skillet over medium heat; add brown sugar, and cook, stirring constantly, 1 to 2 minutes or until sugar is dissolved. Remove from heat, and place 1 pie crust in skillet over brown sugar mixture. Spoon apple mixture over pie crust, and top with remaining pie crust. Cut 4 or 5 slits in top for steam to escape.
I am not a big fan of egg and sugar on top of my pie it makes it a little hard and sweet but if you like it that way do the following. Whisk egg white until foamy. Brush top of pie crust with egg white; sprinkle with 2 tablespoons granulated sugar.
Bake at 350º for 1 hour to 1 hour and 10 minutes or until golden brown and bubbly, shielding with aluminum foil during last 10 minutes to prevent excessive browning, if necessary. Cool on a wire rack for 30 minutes before serving. Serve with ice cream.
Source: Southern Living – September 2011 – Mrs. James Wright, Chattanooga, Tennessee
New Year’s Resolution 2013
So 2013 is here and today is the day to set my goals. I have mentally given myself goals before but have never written them down or put them on the internet for all to see so here we go…
1) To do more blogs on my site “Fresh from Oregon” and share all the wonderful things that are grown here in Oregon like: Pears, Hazelnuts, Marionberries, Razor Clams, Salmon and the list can go on.
2) To start my cookbook and get the first chapter finished by the end of February.
3) Learn how to sew and use the new sewing machine my husband bought me for Christmas. See my picture above on the start of my sewing…
4) Learn to take better pictures with my camera and learn more than the auto button.
5) To work collecting more family history and pictures about my family and my husband’s family for our family tree and share with my family that I know now and to find more family I have never met here in the US and other countries. I believe I have the word family 6 times in the sentence above so that is an important resolution.
6) To discover the mountain, with my husband John and dog Sage, where we live and all the beautiful trails and breath taking views it has to share.
7) To have no more than 6 resolutions so I have time learn and share my life with others!
Bring in the New Year with Homemade Pierogies
In my family we celebrate the New Year with pork & sauerkraut with potato cheese pierogies. I have been told this is a Pittsburgh, Pennsylvania tradition where I am from. My dad’s side of the family is also from Poland and I believe this love for the pierogies is deep in my roots. When my grandmother and her sister were young they worked part time making hand made pierogies. When my husband and I moved to Oregon 7 years ago we had to explain each year to our friends these traditions and that there is nothing better than homemade pierogie. The filling I make each year and my family’s favorite is potato, cheese and onion. This year I wanted to add a new filling to my recipe box and start my new west coast tradition so I made a yam and dried cranberry filling and sauteed them in butter with hazelnuts.
Enjoy the the following recipes and make a new tradition for your family.
Potato & Cheese Pierogies
Potato & Cheese filling:
(This is enough filling for two dough recipes)
2 ½ pounds potatoes, peeled
1 Tablespoon salt
1 stick (½ cup) butter
½ cup chopped onion
1 cup (4 oz.) shredded Cheddar Cheese
1/2 teaspoon salt
1/4 teaspoon ground pepper
Put the potatoes in a pot and cover with cold water and add the 1 tablespoon salt. Place over medium-high heat and bring to a boil. Cook until the potatoes are soft, or about 10 to 15 minutes after they start to boil. When the potatoes are done place in a bowl and mash with a potato masher, set aside. Melt the butter with the onions in a frying pan over medium heat until soft (or longer, depending on your preference). Add the cooked onions, cheese, salt and pepper to the potatoes and mix until combined. Let cool. I like to make my filling the day before I plan on making the pierogies.
Yam & Cranberry filling:
1 1/2 pounds yam (2 large), peeled
1 Teaspoon salt
2 Tablespoons butter
2 Tablespoons dried cranberries, finely chopped
2 Tablespoons brown sugar
1/4 teaspoon salt
1/8 teaspoon ground pepper
Put the yams in a pot and cover with cold water and add the 1 teaspoon salt. Place over medium-high heat and bring to a boil. Cook until the yams are soft, or about 10 to 15 minutes after they start to boil. When the yams are done place in a bowl and mash with a potato masher. Add the butter, cranberries and brown sugar and mix until combined. I also like to make this the night before.
For the dough:
(Make the night before)
3 cups Bob’s Red Mill white flour
1 large egg
2 Tablespoons butter, at room temperature, or olive oil
¾ cup lukewarm water, more if needed
1 teaspoon salt
Combine the flour, egg, butter, ¾ cup water and the salt, preferably in a bowl, although you can also do it the old-fashioned way, which is right on a clean kitchen counter. Mix the dough until it comes together in a rough ball. Knead the dough on a flat, lightly floured surface for approximately 5 minutes or until it forms a smooth ball. Add water as needed if the dough seems chalky or hard, and add flour until the dough no longer sticks to the counter.
Let the dough rest for at least a half-hour if you plan to cook the pierogies immediately, but, if possible, cover and let it rest in the refrigerator overnight to give the gluten in the dough more time to smooth out. Bring to room temperature before you get ready to roll it out.
Divide the dough into two pieces, roll out one piece about ¼-inch thick (or thicker, if desired) and cut into circles, about 3 inches in diameter. Repeat with the remaining piece of dough. You will have dough left over from both times you rolled out, just combine and knead together. Set aside to let rest for 5 minutes, then roll out and cut into circles of dough.
Fill each circle with a heaping tablespoon of potato/cheese or yam/cranberry filling (you can use a mini ice cream scooper for this), fold the dough over the filling and seal by pinching the edges well. It is important to pinch and seal the outer edge so the filling does not come out when you boil them.
Step 1: Fold over and pinch in the middle.
Step 2: Work down both sides of the dough pinching shut as you go.
Step 3: Check to make sure you can not see any filling.
Step 4: Place on lightly floured baking sheet until ready to boil.
Cook the pierogies in a large pot of rapidly boiling water for about 5 minutes, they will also float to the top. Do not overcrowd them in the pot, I cook about 8 at a time. Place cooked pierogies on a wire rack to dry which you have placed over a baking sheet to catch any excess water.
For pan-frying the potato & cheese pierogies add some sliced onion and butter to a frying pan and cook the onions about 2-3 minutes. When the onions start to brown add in the pierogies and brown on both sides this takes about 30 seconds on each side. For the yam & cranberry pierogies melt about 4 tablespoons of butter in a frying pan, add pierogies brown on each side, about 30 seconds per side. Sprinkle in about 1 tablespoon of finely chopped hazelnut and cook another 30 seconds. To freeze extra pierogies place in a container in layers with plastic wrap between layers and top with a piece of plastic wrap.
Each dough batch makes 24 pierogies. Potato filling makes 48 pierogie.
Yam filling makes 24 pierogies.
Christmas Baking Countdown
It is only 16 days until Christmas and holiday baking and candy making has started in my house here in Oregon. I made my list and checked it twice for all my family’s favorite recipes. Now that I live in the Pacific Northwest and have picked and enjoyed some of its local flavors I have added them to some of my baking this holiday. In the next few weeks I will share with you some of my holiday recipes and you will see some flavors of Oregon added to old family recipes.
Original Thumbprints
1 cup shortening
1/2 cup brown sugar
2 eggs, separated
1 teaspoon vanilla extract
2 cups Bob’s Red Mill white flour
1/2 teaspoon salt
1 1/2 cups walnuts, finely chopped
Preheat oven to 350 degrees. Mix shortening, sugar, egg yolks and vanilla together. In small bowl blend together the flour and salt and then stir in to shortening mixture. Roll dough into 1-inch balls. In small bowl beat the egg whites slightly with a fork. Dip balls into egg white then roll in the nuts. Place about 1-inch apart on a cookie sheet. Press thumb gently into the center of each. Bake 10-12 minutes or until lightly brown. Cool and fill with Icing.
Icing
1 cup confectioners sugar
2 tablespoon milk
1 1/2 teaspoon vanilla extract
food coloring
In small bowl whisk all the icing ingredients together and spoon into the center of each cookie.
Pacific Northwest Thumbprint
In the cookie recipe above use hazelnuts instead of the walnuts. With the icing add an additional 1/4 to 1/2 cup of confectioners sugar and 3 tablespoon of marionberry jelly that has been slightly melted in the microwave. Add to the center of each cooled cookie. This makes a beautiful purple color icing.
Turtle Thumbprints
In the cookie recipe above use pecans instead of walnuts. In a small bowl melt 13 caramels and 2 tablespoons of milk in microwave about 1 minute. Stir until smooth. Add to the center of each cooled cookie. Melt some chocolate wafers and drizzle over the cookie and caramel.
The Big “50” Chocolate Cake
Today is my big day I turn the Big “50” today. I decided to make my own cake with all the flavors I love chocolate, more chocolate and marshmallow. I searched my Pinterest pins and found a dark chocolate cake with coffee which only brings the chocolate flavor in the cake to the next level. Since I love chocolate I had to use a chocolate buttercream as the frosting. To make it all come together a marshmallow filling layered between the two chocolate cakes. Did I tell you I love chocolate?
2 cups sugar
1 3/4 cups Bob’s Red Mill white flour
3/4 cup unsweetened cocoa powder
2 teaspoons baking soda
1 teaspoon baking powder
1 teaspoon kosher salt
2 eggs
1 cup buttermilk
1 cup strong black coffee
1/2 cup vegetable oil
2 teaspoons vanilla extract
Heat oven to 350°F. Grease and flour two 9-inch round baking pans. Set aside.
In the bowl of a stand mixer fitted with the whisk attachment or in a large bowl with an electric mixer, combine the sugar, flour, cocoa, baking soda, baking powder. Mix on low until dry ingredients are thoroughly combined. Add eggs, buttermilk, coffee, oil and vanilla. Beat on medium speed for about two minutes; the batter will be thin. Pour batter evenly into prepared pans.
Bake in preheated oven for 30 to 35 minutes for round pans or until wooden toothpick inserted in center comes out clean. Cool 10 minutes; remove from pans to wire racks. Cool completely.
Frost as desired. I used a simple and delicious Chocolate Buttercream Frosting recipe below from Savory Sweet Life. One batch was perfect for this layered chocolate cake. Chocolate cake recipe from My Baking Addiction.
Chocolate Buttercream Frosting
1 cup unsalted butter, softened (but not melted!)
3 1/2 cups confectioners (powdered) sugar
1/2 cup cocoa powder
1/2 teaspoon table salt
2 teaspoons vanilla extract
4 tablespoons milk or heavy cream
Cream butter for a few minutes in a mixer with the paddle attachment on medium speed. Turn off the mixer. Sift 3 cups powdered sugar and cocoa into the mixing bowl. Turn your mixer on the lowest speed (so the dry ingredients do not blow everywhere) until the sugar and cocoa are absorbed by the butter. Increase mixer speed to medium and add vanilla extract, salt, and milk/cream and beat for 3 minutes. If your frosting needs a more stiff consistency, add a little more sugar. If your frosting needs to be thinned out, add additional milk 1 tablespoon at a time.
1/4 cup vegetable shortening
1/4 cup butter, softened
Pinch of salt
1 teaspoon vanilla extract
1 cup powdered sugar
1/4 cup corn syrup
3/4 cup marshmallow creme (optional, but GOOD)
Beat together shortening, butter, salt, vanilla extract, and powdered sugar until fluffy. Beat in corn syrup a bit at a time until blended. Beat in marshmallow creme just until blended. Recipe from Little Indiana.
- « Previous Page
- 1
- …
- 9
- 10
- 11
- 12
- 13
- …
- 15
- Next Page »